This easy paper plate umbrella craft for kids is perfect for a colorful hands-on project.
This simple and delightful activity is awesome for keeping kids entertained on a rainy day or for adding a splash of color to your spring decor. With just two supplies, your students will build important fine motor skills by tearing paper and making their own umbrellas. Plus, they’ll love making a cute decoration that brightens up any space. Whether you’re looking for a fun homeschool art project, a quick after-school activity, or a creative way to welcome the season, this craft is for you!
I’m sharing tips and ideas for making this paper plate craft plus step-by-step instructions (with pictures). Oh, and I have some fun variations to make the project even more exciting!
Related: Enjoy another simple craft with kids and make a kite suncatcher!
Add Some Color to Your Day with This Simple Craft
Would you like an easy activity to enjoy with kids for rainy day fun? Maybe you need a simple spring craft? Perhaps you’re searching for a colorful way to build fine motor skills (and more)?
Well, this easy paper plate umbrella craft is an outstanding option for all of those things and more!
When my two older boys were little, they loved to play in our driveway – especially in the rain! At that time, our driveway was a mix of gravel and dirt which meant puddles. They would pull on their rain boots, grab their umbrellas, and splash away. (And I’d love a garden hose ready to wash them off!)
To keep their excitement going, I would use a variety of resources (like the books I share at the bottom of this post) with them that featured rain themes. In the spring (really any time of year), we’d sing Robin in the Rain by Raffi. And we’d make crafts – like this paper plate umbrella !
Related: This simple paper chain caterpillar craft is so much fun for kids!

Recommended Materials for This Umbrella Craft
This craft is one of my favorites because it’s no-prep and mess-free. Plus, you only really need two supplies.
If you want your umbrella to look the example in this tutorial, just follow the steps. OR your child can use whatever colors they like to make cool patterns or a solid!
To get started with this project, here’s a list of the recommended materials:
- Paper Plates
- Construction Paper
- Scissors
- Glue
Related: This DIY cloud dough recipe is delightful for hands-on fun!
How to Make This Paper Plate Umbrella Craft

01
Make the umbrella shapes
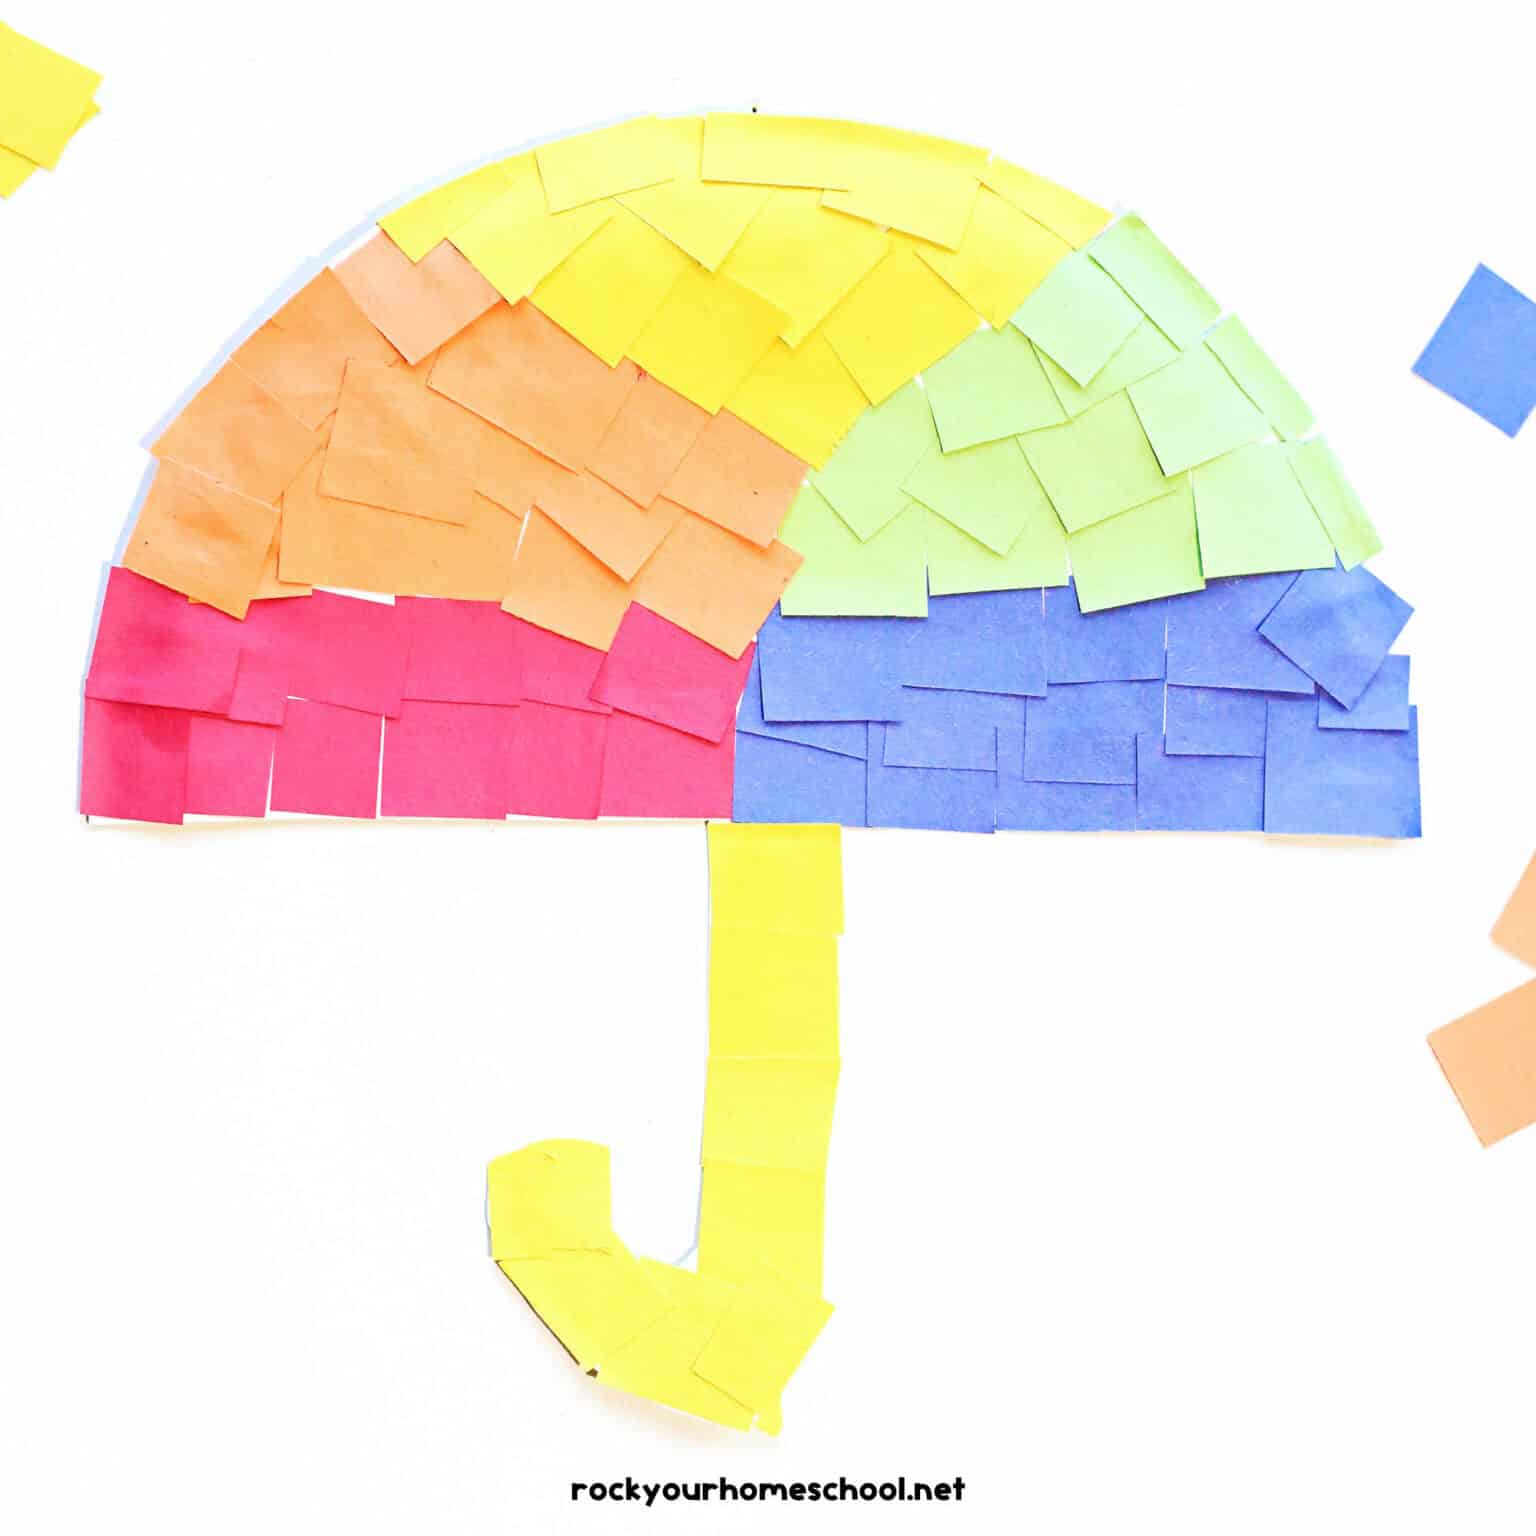
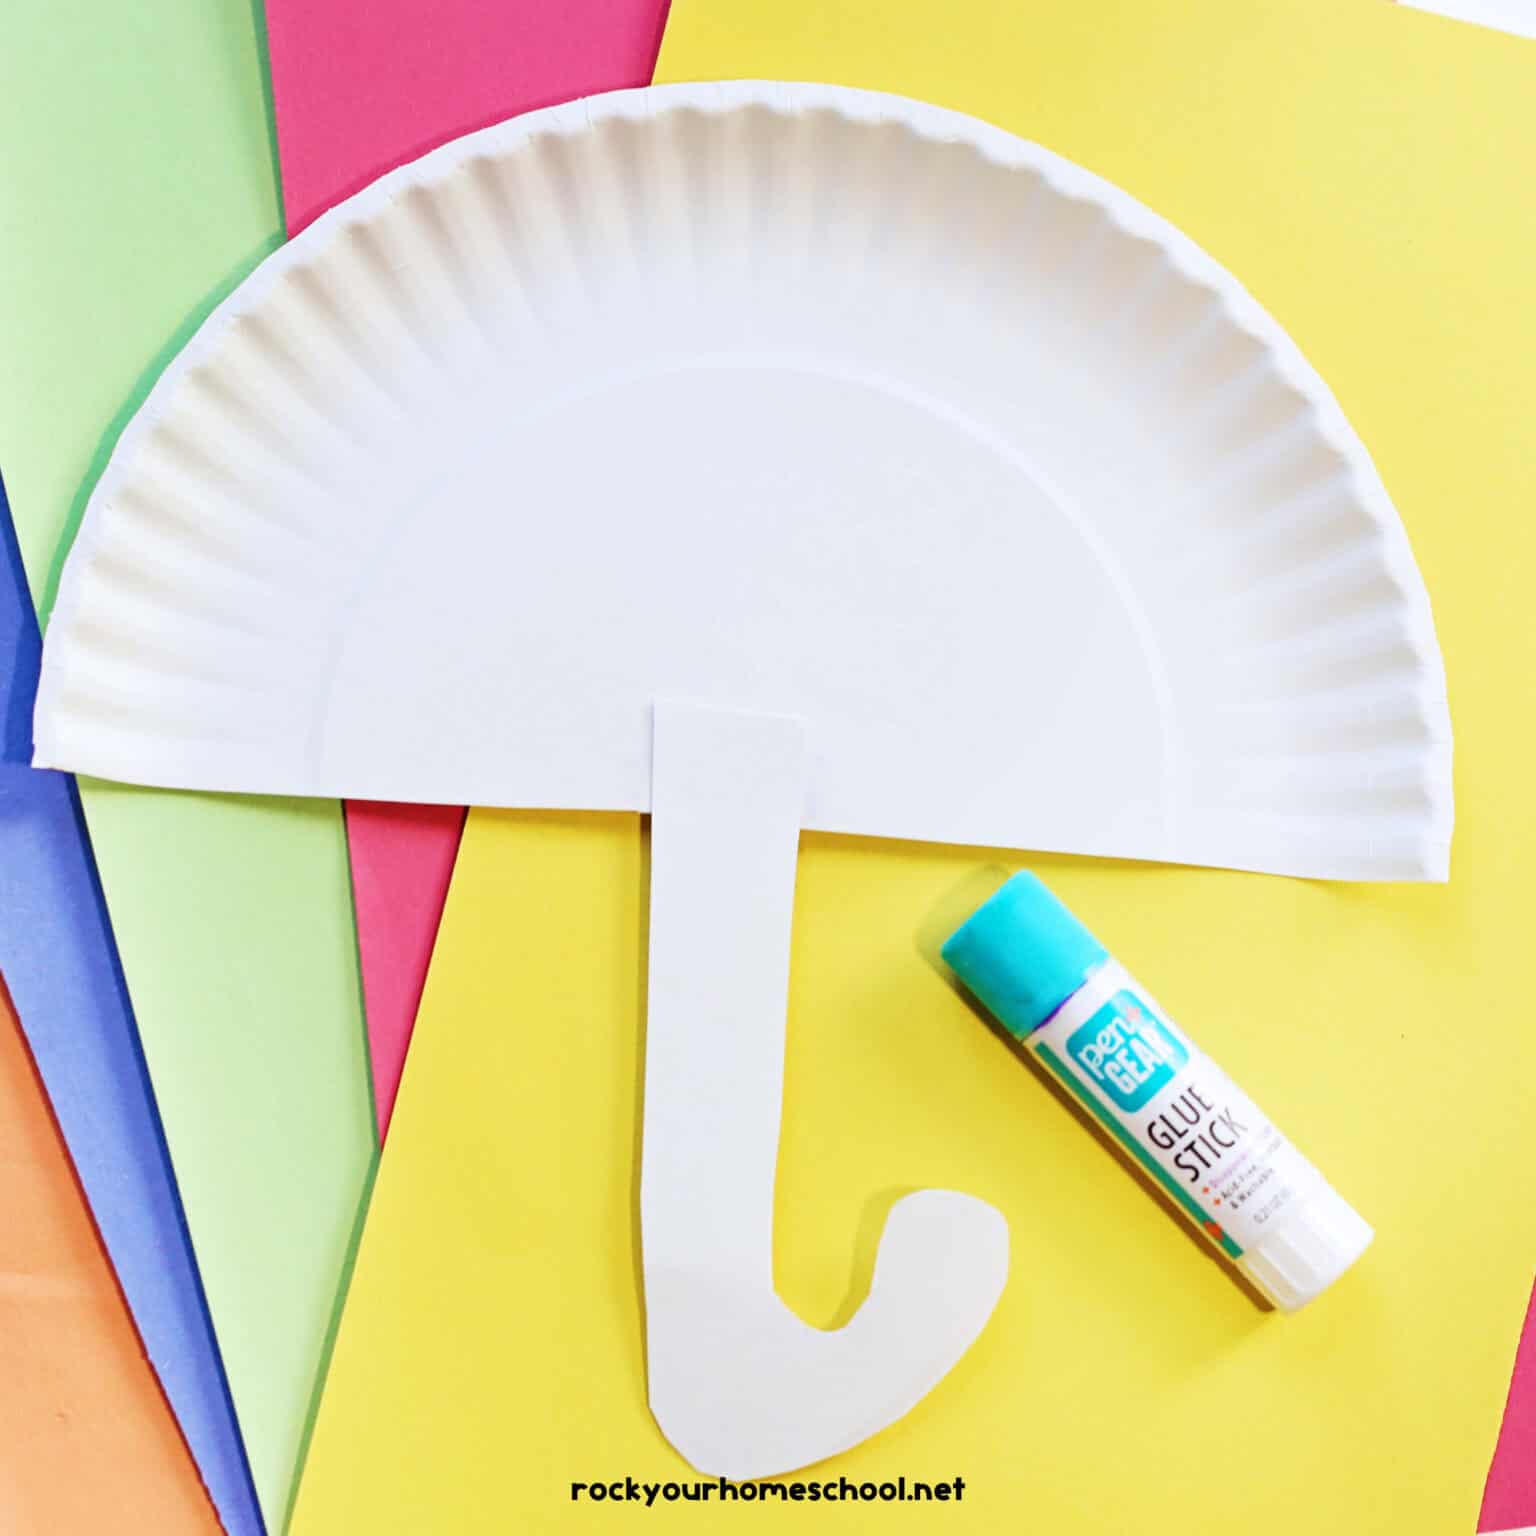
Cut the paper plate in half. Cut handle shape from other half of plate.
02
Attach handle to plate
Glue umbrella handle to the half plate.
03
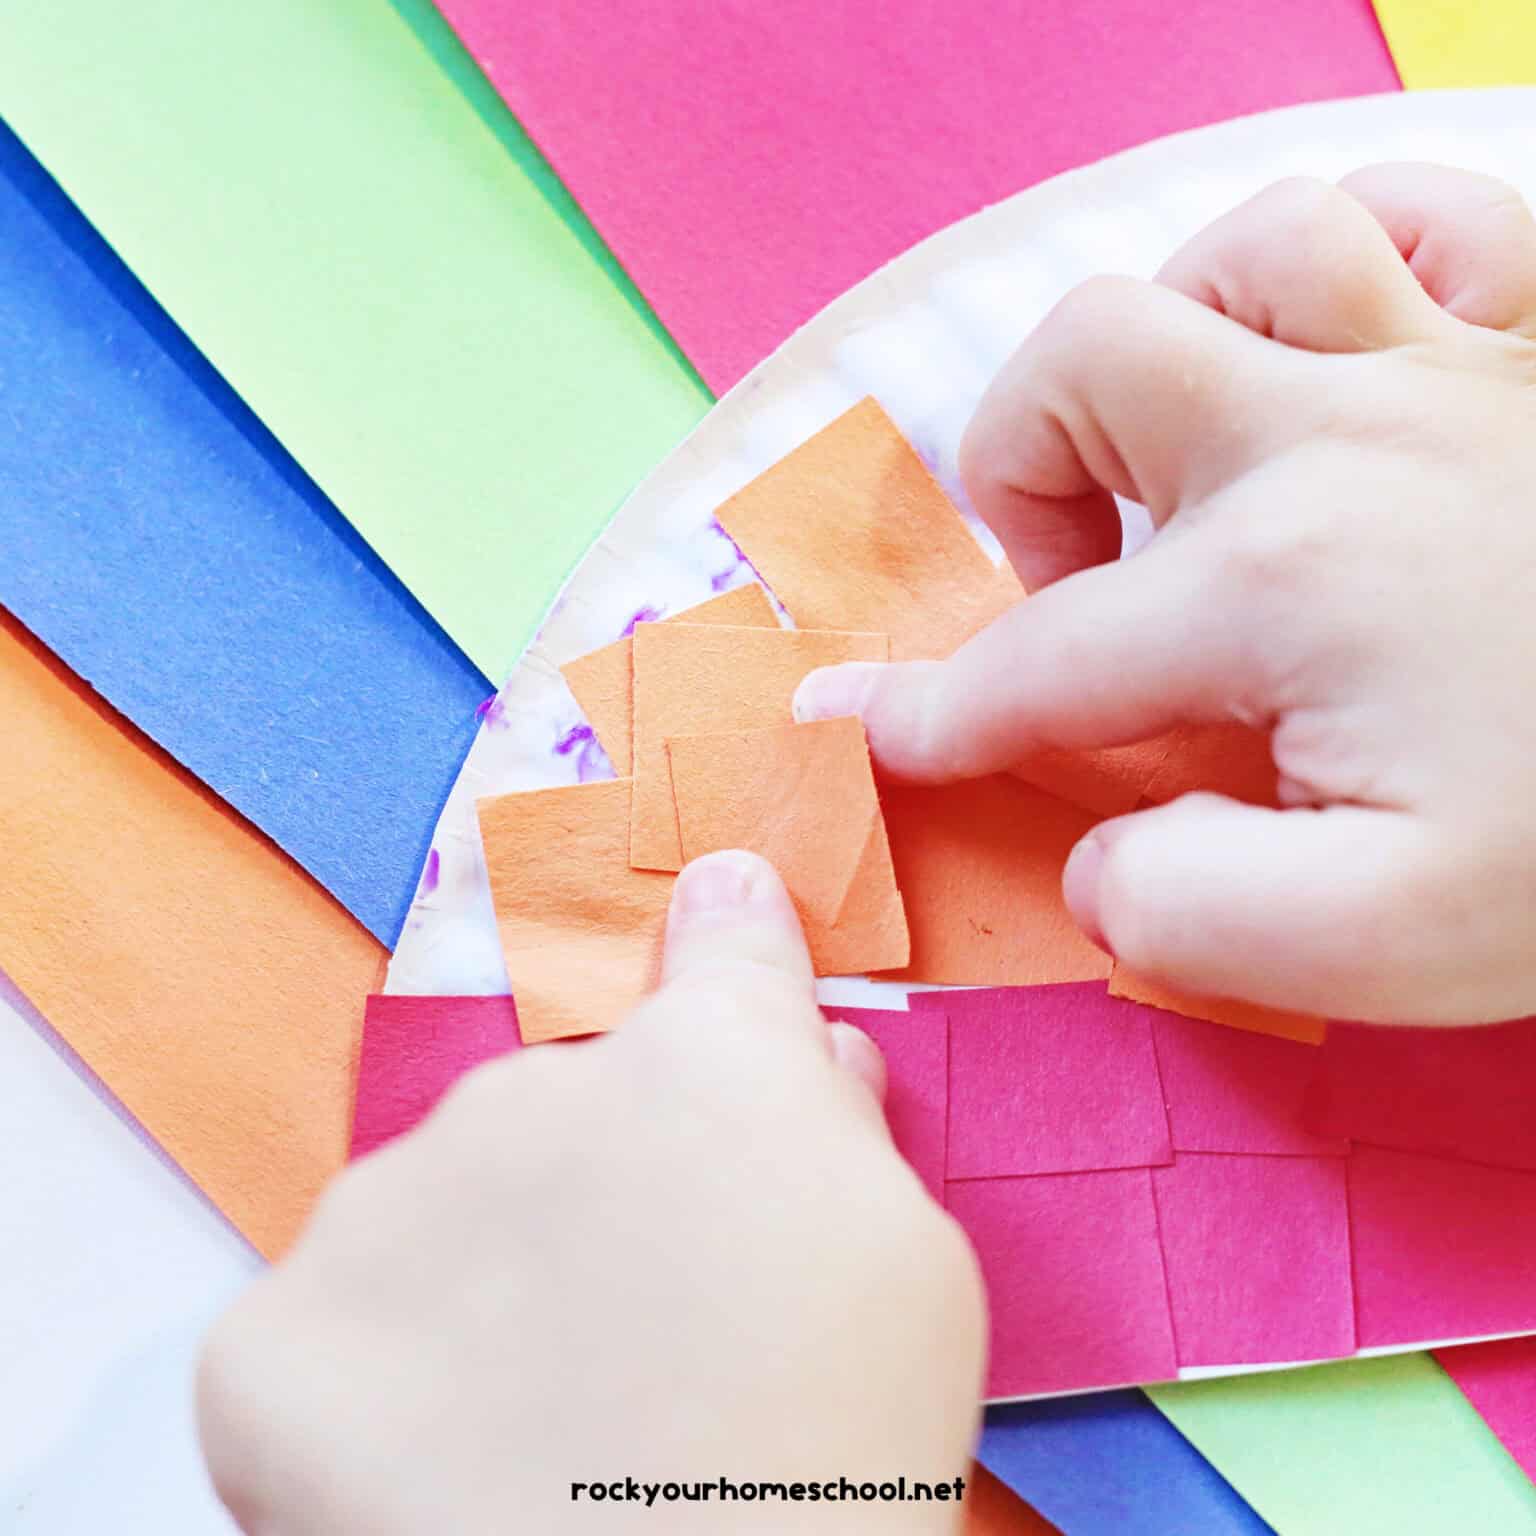
Make paper squares
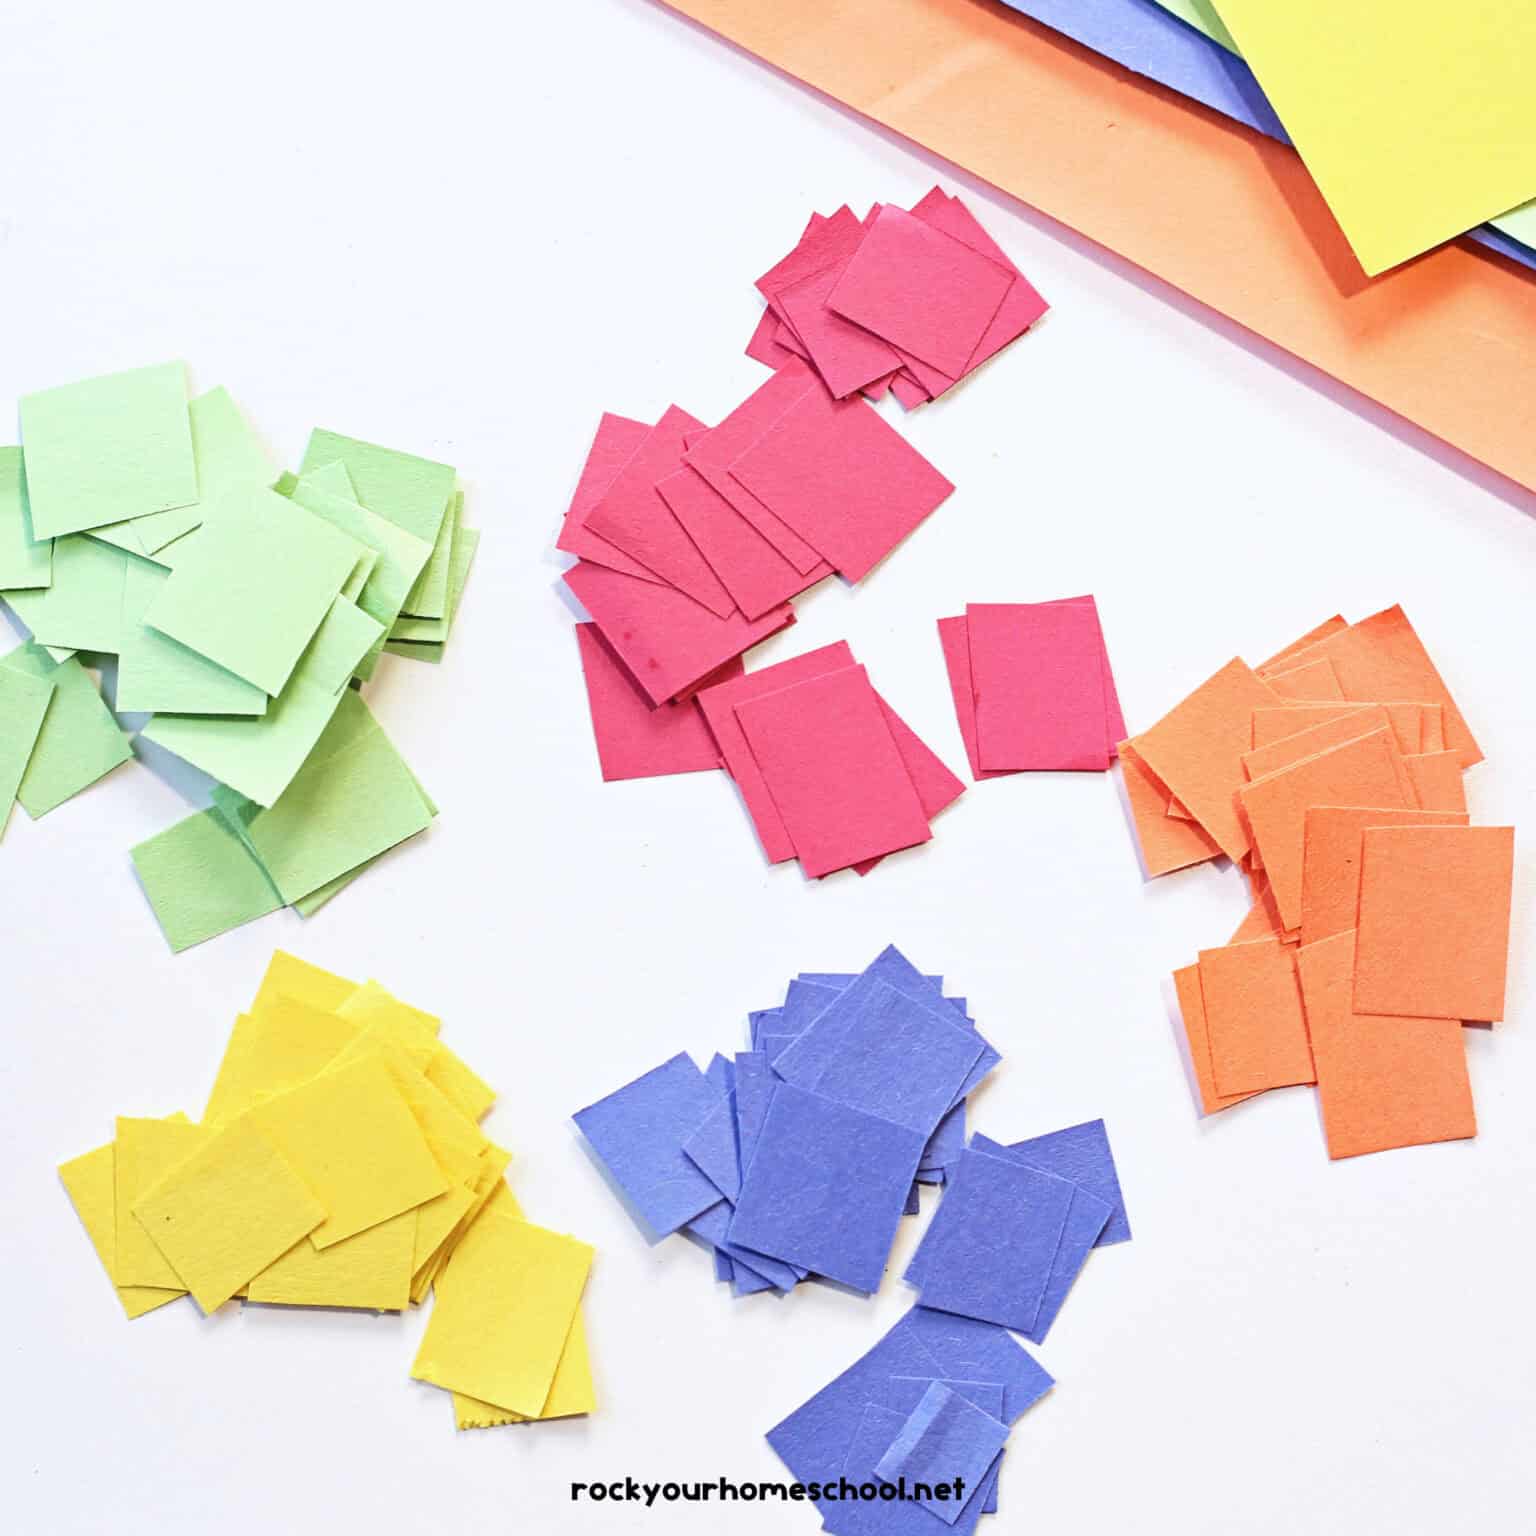
Cut (or tear) paper squares in various colors. You can turn your umbrella into a rainbow, make cool patterns, or stick with one color.
04
Add paper squares to half paper plate
Glue the colored paper squares to decorate the umbrella.

05
Add paper squares to half paper plate
Glue paper squares to the handle. You can use yellow like shown in the example or any color you’d like!
Frequently Asked Questions About This Paper Plate Project
Yes! This umbrella craft is great for younger children because they can either tear paper to build fine motor skills OR use child-safe scissors. You can also pre-cut the paper plates to make it easier for little hands to decorate and assemble.
Sure thing! You can use this craft as an opportunity to teach about seasons, weather, and colors. It’s also a great choice for extending the fun with books about those topics.

Fun Variations to Personalize Your Umbrella Craft
I encourage you to think outside the box when it comes to creating your umbrella craft. Go through your craft supplies and see what materials would work. A few ideas for supplies to consider are:
- markers, crayons, or color pencils
- stickers
- pom-poms or cotton balls
- fabric scraps
- glitter glue
- Kwik Stix (or other tempera paint sticks)
- washi tape
You can add your child’s name, favorite character, and drawings. Try different sizes of paper plates for variations.
Older students can add more complex designs, like patterns or even creating multiple layers of paper for a 3D effect. They can also make mini-umbrellas (using cardstock) or create a paper umbrella garland.
Creative Ways to Display and Use Your Paper Plate Umbrella
As you work on your paper plate umbrella craft, think about how you can display the final products.
Once your umbrella is complete, you can use a piece of string, yarn, or ribbon to hang it. Use a hole punch at the top and insert the string through then tie. OR simply tape or staple the string to the back of the umbrella and hang it up to brighten a room or window.
If you make several paper plate umbrellas (especially on smaller sizes), make a garland. Attach the DIY umbrellas to a ribbon or string. Place above a mantle, chalkboard, whiteboard, bookcase, along a wall, or in a hall.
Enjoy some umbrella and spring-themed books to take your learning fun to the next level:
The UmbrellaThe Big UmbrellaThe UmbrellaWorm Weather (Penguin Core Concepts)


⭐ Hurray! I hope you and your kids have a bunch of fun with this paper plate umbrella craft. Now that you have these ideas and directions, do you have any questions for me? And what ideas do you have for making and using this project? Please share in the comments area at the bottom of this post!