Looking for a fun and frugal Easter activity for the kids? This adorable toilet paper roll Easter craft is the perfect spring project!
Using just a few simple supplies, your children can create a colorful, festive decoration that will brighten up any space. It’s a budget-friendly craft that also encourages creativity. Whether you’re homeschooling, spending time with grandchildren, or looking for a simple classroom activity, this craft is an excellent choice.
I’m sharing step-by-step instructions to make this easy DIY egg garland plus creative ideas for using. Get egg-cited for a super cool craft for Easter fun!
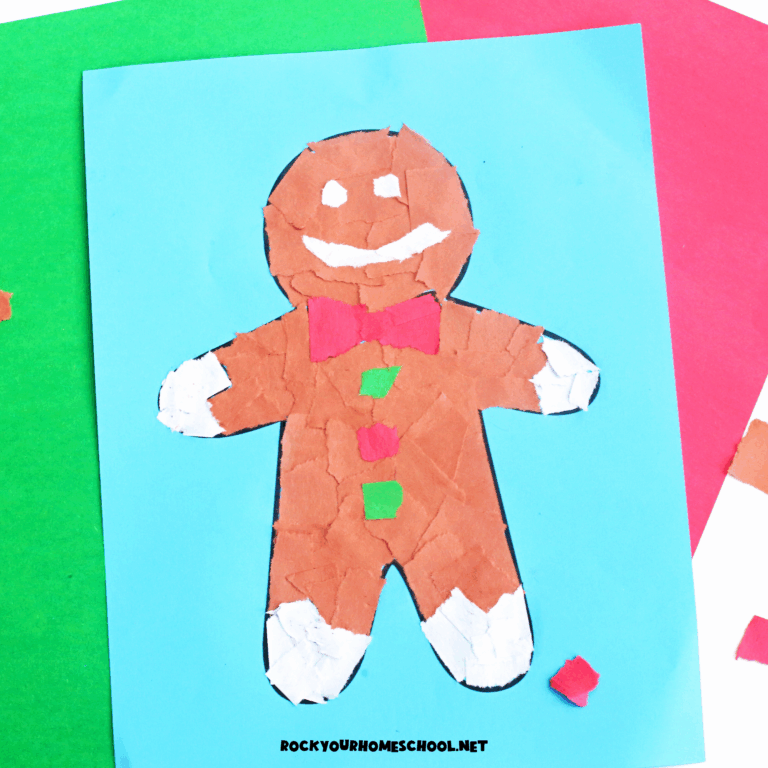
Related: This torn paper Easter egg craft (with free printable templates) is another creative way to get your kids involved in making holiday decorations you’ll love.

Enjoy Making a Frugal Easter Decoration with Your Kids
Looking for a simple way to have Easter fun with your students? Searching for an affordable (better yet free!) activity that your kids can work on for an Easter party or other event? Maybe you’d like a creative way to teach your kids about recycling and making DIY holiday decorations?
Well, this cute toilet paper roll Easter craft for creating an egg garland is an incredible choice for all of those things and more!
After sharing our toilet paper roll Christmas lights craft, I was so pleased to get such positive feedback about how easy and adorable that project turned out. It really is a lovely craft for kids that can be easily customized. And, it reminded me of a similar project that my boys and I enjoyed -this toilet paper roll Easter egg garland!
With five boys, our garland turned out to be rather long. We would string it along the bookcases and cabinet in our homeschool space (a.k.a. dining room). I love to bring it out once spring comes and brighten our learning area!
Suggested Materials for This DIY Egg Garland
To make this craft for kids as easy and stress-free as possible, I highly recommend that you gather your supplies before starting. If you find that you’re missing a materials, you can search for a substitute or go out and buy so you’ll be ready when it comes time to get crafty. The basic supplies you’ll need include:
- Toilet Paper Rolls
- Paint
- Ribbon
- Paintbrush
- Scissors
- Hole Punch
- Q-tips
Prefer to not use paint? I love using tempera paint sticks (like Kwik Stix) with these types of projects because you still get a paint effect without all the mess.

How to Make This Toilet Paper Roll Easter Craft

01
Prepare toilet paper roll
Cut several toilet paper rolls into sections of equal width.

02
Paint toilet paper roll sections
Paint the eggs several different base colors. Allow time to dry.
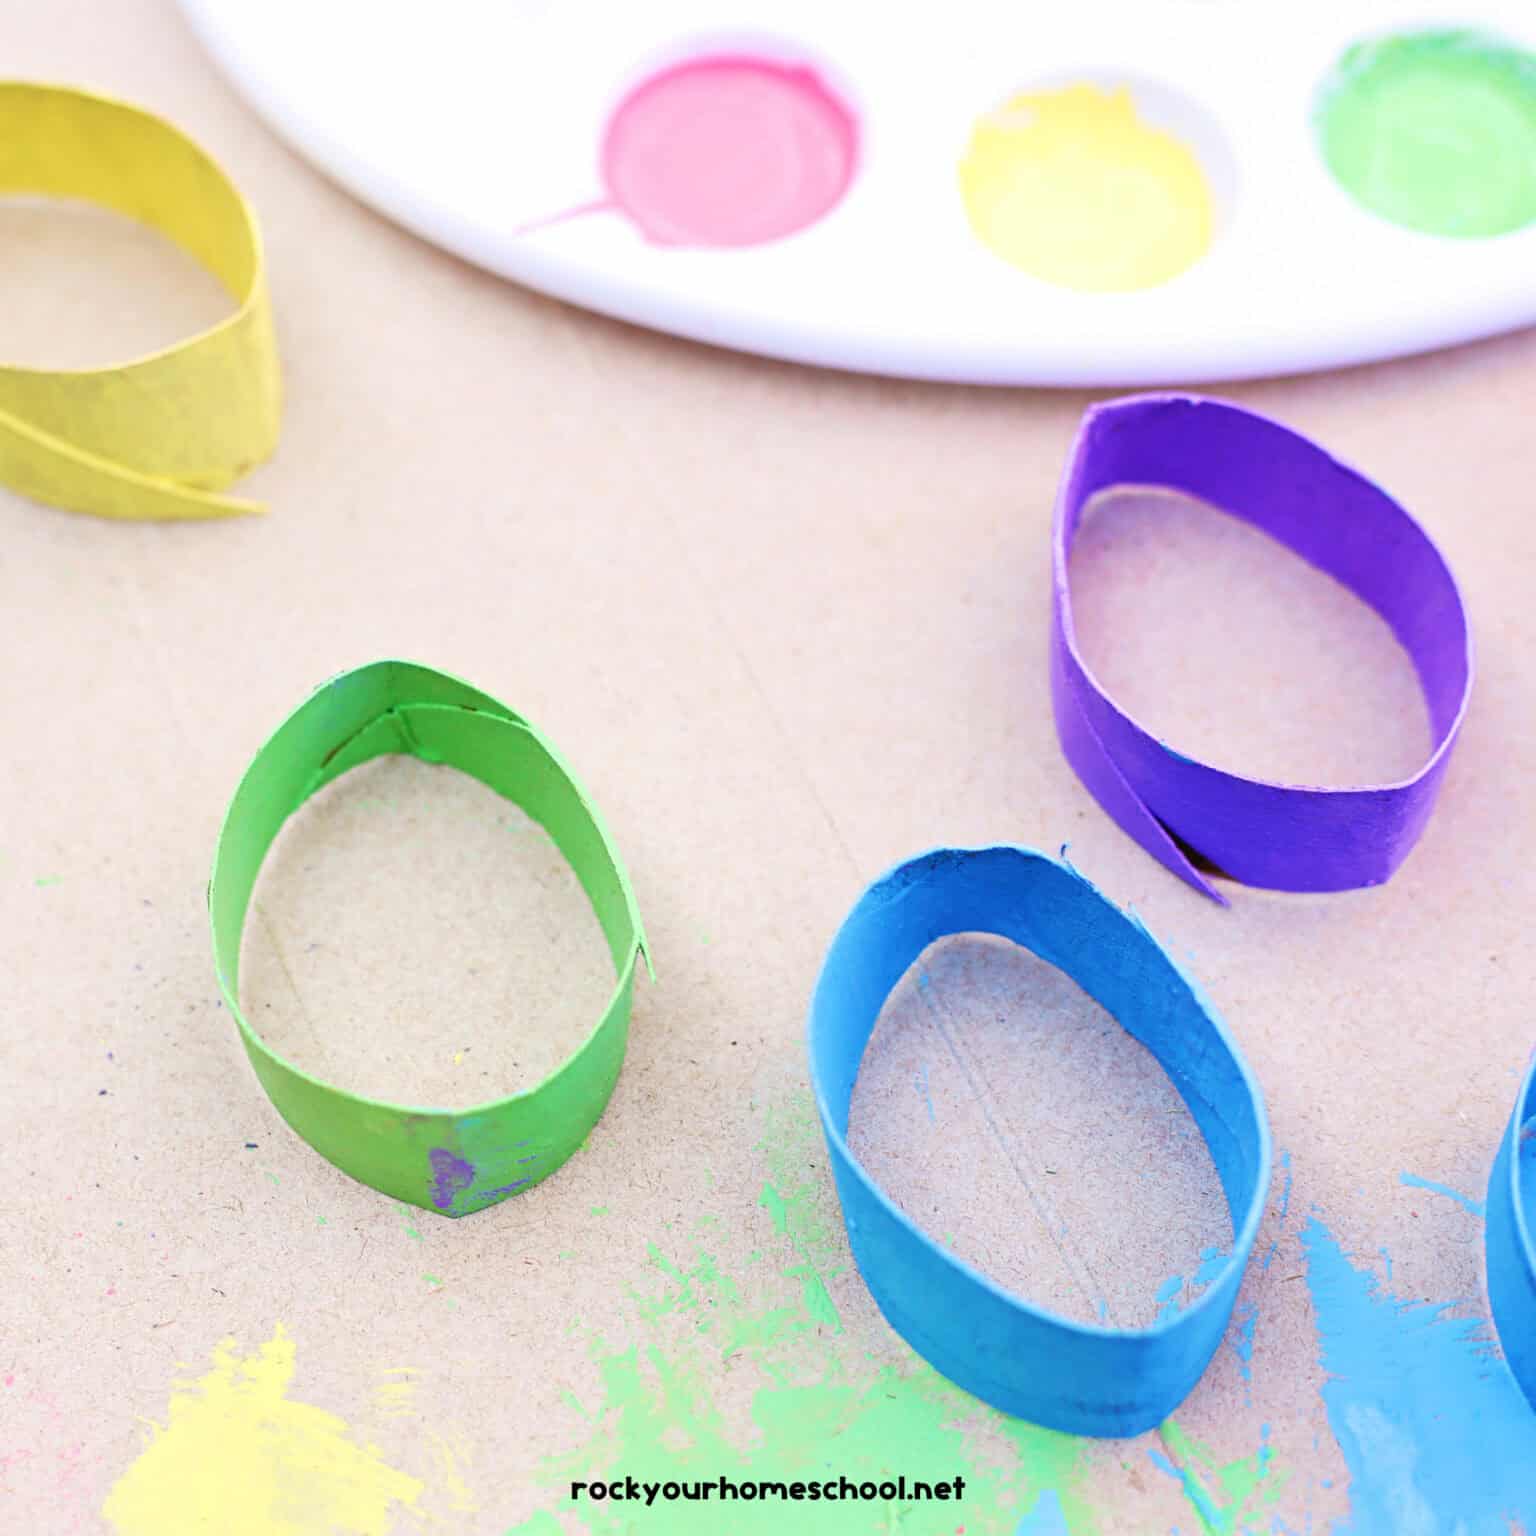
03
Shape the sections into eggs
Squash them slightly into egg shapes.

04
Add details on eggs
Use a Q-tip dipped in paint to add details. You can also use markers, stickers, and washi tape sections.

05
Add holes to top of eggs
Use the hole punch to make two holes at the top. The holes should be just to either side of the very top of the egg.

06
String the eggs into garland
Lace the ribbon through both holes for all of the eggs.
Frequently Asked Questions About This Toilet Paper Roll Garland
Absolutely! If you have paper towel rolls on hand, you can cut them into smaller pieces to create larger eggs. Just adjust the size of your egg shapes accordingly.
Yes! You can adapt this craft for different holidays and seasons by using different colors and shapes. Change up the colors of toilet paper roll sections or the ribbon. Consider the type of holiday, season, or event that you plan on using this craft for and tweak the project.
Yes, this craft is perfect for younger kids with a little help! They can decorate and arrange the eggs on the garland while you handle the cutting and stringing. You can also opt for stickers or pre-cut shapes as decorations to make it simpler.

Creative Ideas for Making and Using Your Egg Garland
Add a little pizzazz to your toilet paper roll egg garland by customizing it. Use different colors of paint (besides the traditional Easter colors). Instead of pastels, go for bright and bold. Oh, and consider adding glitter to your paint for a sparkly effect.
Another way to boost your DIY Easter decorations is to use small items, like pom poms, stickers, or sequins. Cotton balls (in small fluffs) can be cute – like little bunny tails!
Need a few ideas on where to display your DIY garland? Some places that you could hang your garland include:
- Above your fireplace on your mantle
- Above or on your doorway
- Windows
- On a bookcase or cabinet
- On your mailbox
- To decorate your stair railings (you can weave through or wrap around a pillar)
If you have time, consider adding other Easter-themed activities to boost your experiences. I love to add a mix of other hands-on activities (like Easter egg painted rocks) and simple printables (like Easter bunny coloring pages).
Oh, and try other frugal crafts with spring themes! Our toilet paper roll tulips and coffee filter flowers are other easy projects for this time of year.
⭐ What ideas do you have for creating this toilet paper roll Easter craft with kids? And please let me know if you have any questions about the steps in this tutorial. I’d love to read all about your experiences in the comments area at the bottom of this post!