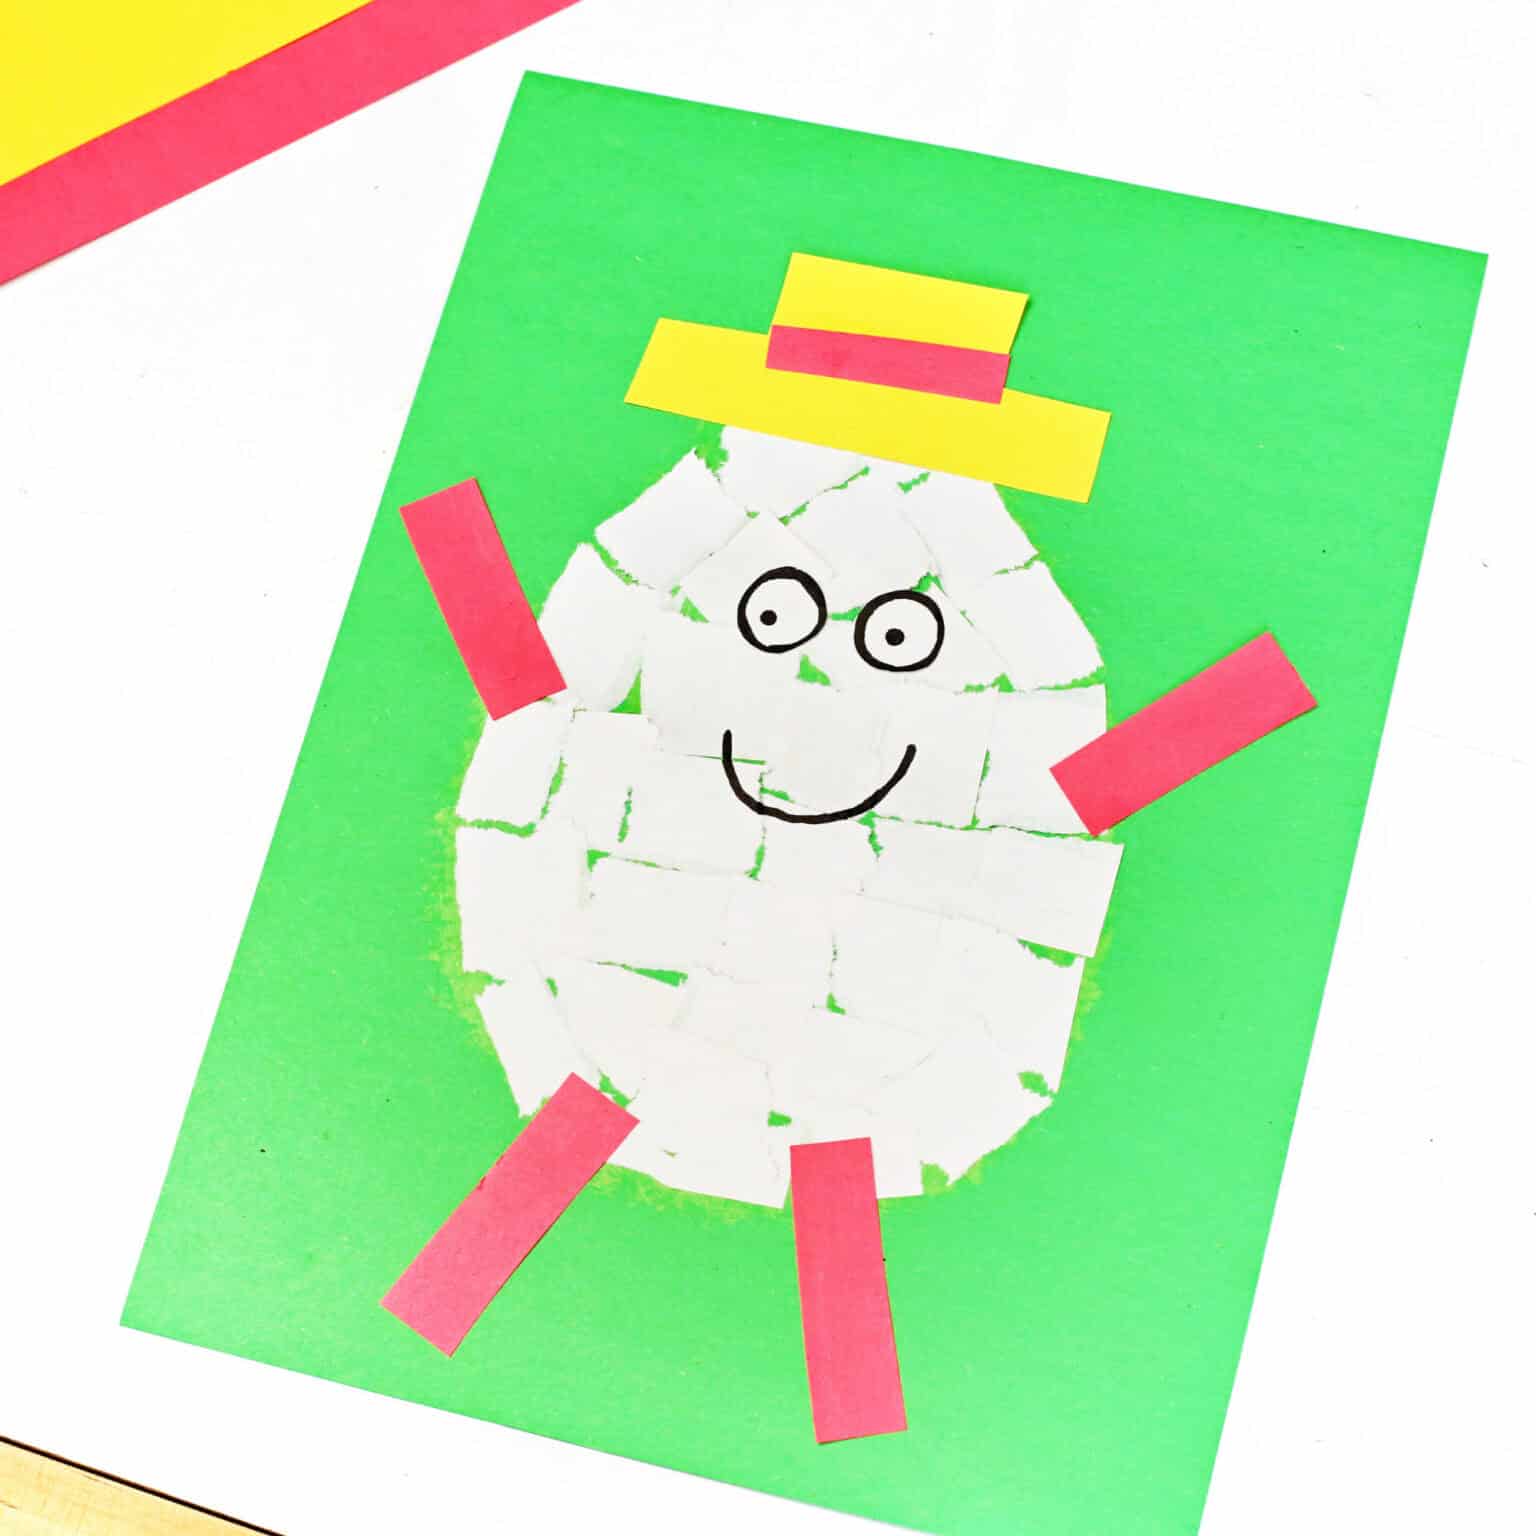
This Humpty Dumpty craft brings the classic nursery rhyme to life with a simple torn paper project. Using only three supplies, this art activity is perfect for when you need something quick and easy for kids to enjoy.
Plus, you can feel good that your students are practicing fine motor skills and creativity. I love how this craft boosts a nursery rhyme unit or any time you want a low-prep craft that kids will actually be excited about.
Creative Nursery Rhyme Fun for Kids
If you’re looking for a nursery rhyme craft that’s equal parts cute and educational, this Humpty Dumpty torn paper craft will have you smiling. With this activity, kids get to practice tearing, cutting, gluing, and drawing. It such’s a fun and cute way to bring one of the most beloved nursery rhymes to life.
I remember how busy life could be when my boys were younger. Low-prep and super simple was pretty much the only way we could enjoy a creative project. Plus, I loved figuring out ways to involve all my boys who were at different ages and stages.
This torn paper Humpty Dumpty craft works so well for preschool, kindergarten, or any homeschool nursery rhyme unit. I’m so excited to share it with you!
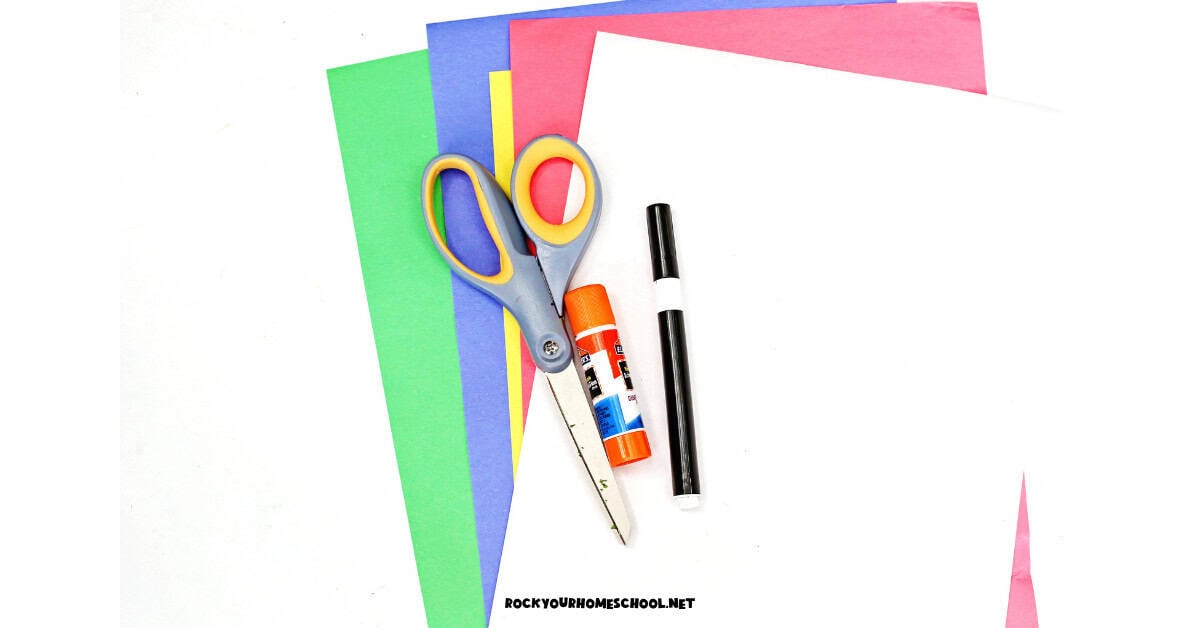
What You’ll Need for This Humpty Dumpty Craft
If you don’t have exactly all of these supplies, no worries! I encourage you to think outside the box and use what you have.
- Construction paper (green, yellow, red or pink, and white)
- White paper for tearing
- Glue stick
- Black marker
- Scissors
- Pencil
How to Make This Humpty Dumpty Torn Paper Craft
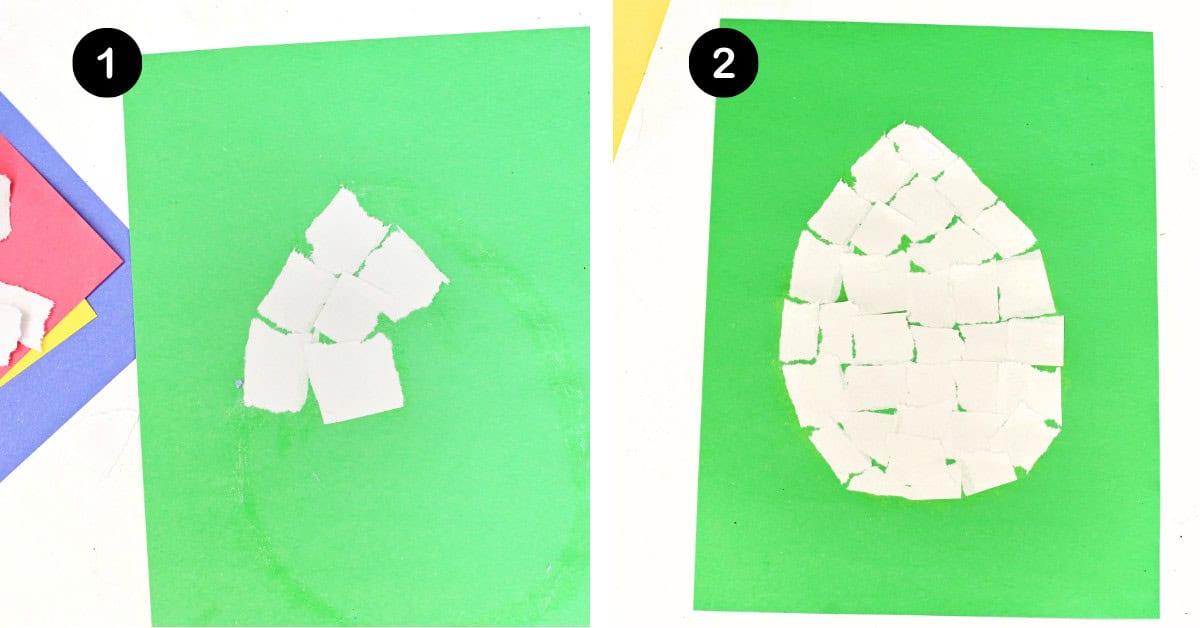
Step 1: Tear the White Paper
Tear white paper into small pieces using just your fingers. Encourage kids to make their pieces roughly the same size, but don’t stress about perfection. The slightly uneven edges are part of what gives the finished craft its charming, textured look.

Step 2: Draw the Egg Shape and Fill with Torn Paper
Start with a piece of green construction paper as your background. Use a pencil (or glue stick) to draw a large egg shape in the center. It doesn’t need to be perfect. Humpty has plenty of personality no matter what!
Apply glue inside the egg outline and begin pressing the torn white paper pieces onto it. Work in sections so the glue doesn’t dry before kids can place their pieces. Keep filling until the entire egg shape is covered.
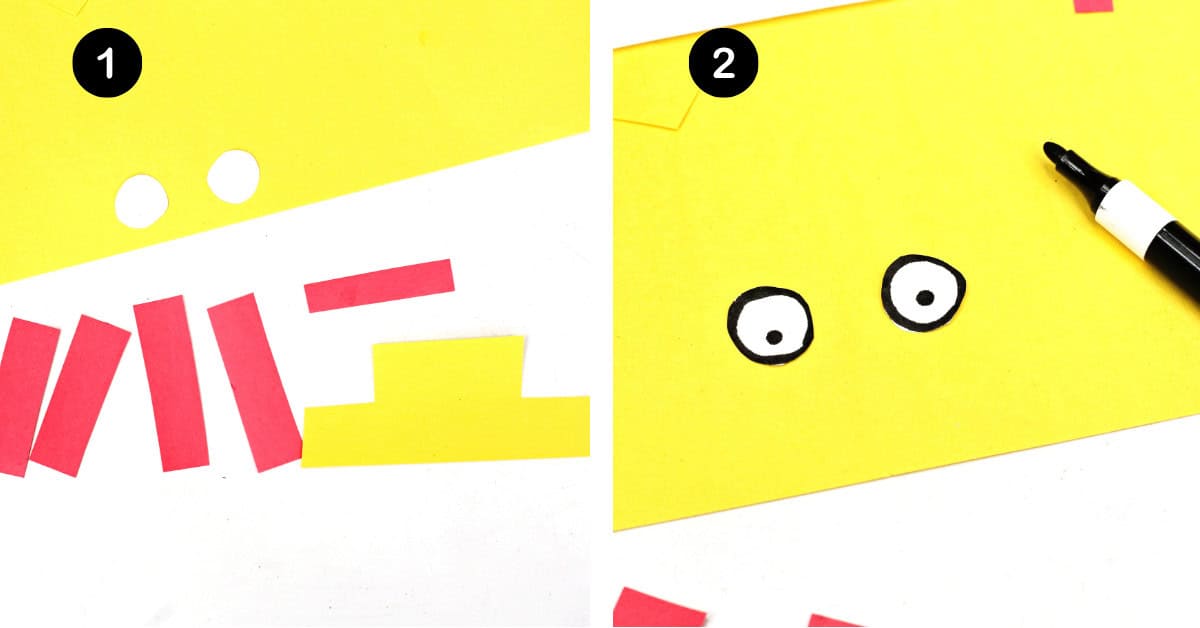
Step 3: Make and Add Arms, Legs, Hat, and Eyes
• Cut four strips from construction paper in a contrasting color (pink or red works great). Glue two strips to the sides of the egg for arms, angling them outward slightly. Glue the remaining two strips to the bottom for legs.
• Cut a hat shape (a wide brim piece and a smaller rectangular top) from yellow construction paper. Cut a thin strip in a contrasting color for the hatband and glue it across the hat. Then, glue the finished hat above the egg at the top of the page.
• Cut two small white circles from construction paper. Using a black marker, draw an outline around each circle and add a small dot in the center for the pupil. Glue the eyes toward the upper portion of the egg.
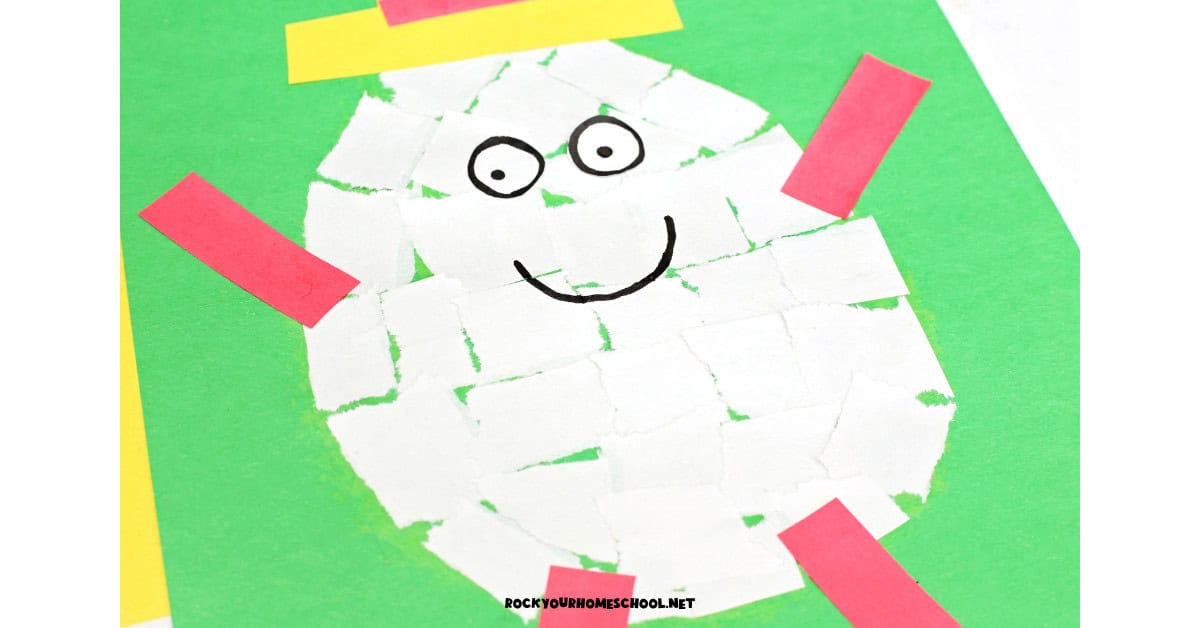
Step 4: Draw the Mouth
Use your black marker to draw a simple curved smile on the egg. And that’s it! Humpty is complete and ready to sit on his wall.
Ideas for Making and Using This Nursery Rhyme Activity
- Mix Up the Materials: The torn paper technique is the star of this craft, but there’s plenty of room to get creative with what you use. Try tissue paper instead of white copy paper for a softer, slightly translucent look. Newspaper or magazine pages add fun texture for older kids. You could even use white paper bags or paper towels for a different tearing experience.
- Use It as a Retelling Tool: After completing the craft, recite the Humpty Dumpty rhyme together and act it out with the finished project. Kids can hold their Humpty up high, recite the rhyme, and dramatically tip him over. Simple, silly, and it reinforces memorization in a way that actually sticks.
- Turn It Into a Writing Prompt: For children who are beginning to write, this craft makes a wonderful writing prompt anchor. Ask them to finish the sentence “Humpty Dumpty fell off the wall and…” and write or dictate their own ending to the story. Display the craft alongside their writing for a sweet display.
More Nursery Rhyme Fun Your Kids Will Love
If you like this Humpty Dumpty craft, there’s so much more nursery rhyme fun waiting for you!
For a full week of Humpty Dumpty learning, check out Preschool Enchantment Week 21: Humpty Dumpty. It’s a printable unit study packed with 31 pages of hands-on activities. Kids will practice the letter U, explore the oval shape, build a Humpty Dumpty puzzle, try an egg drop STEM challenge, go on an egg hunt, and more. It’s low-prep, flexible, and so much fun for preschool at home.
Want even more ideas for bringing nursery rhymes to life? Head over to Nursery Rhyme Activities: How to Make Your Homeschool Preschool Fun for tips, activity ideas, and a list of 25 nursery rhymes your little one will love.
(More nursery rhyme crafts coming soon — check back!)