Lorax Paper Plate Craft: How To Make With Kids
This post may contain affiliate links. Please read my disclosure statement. Thanks for visiting!
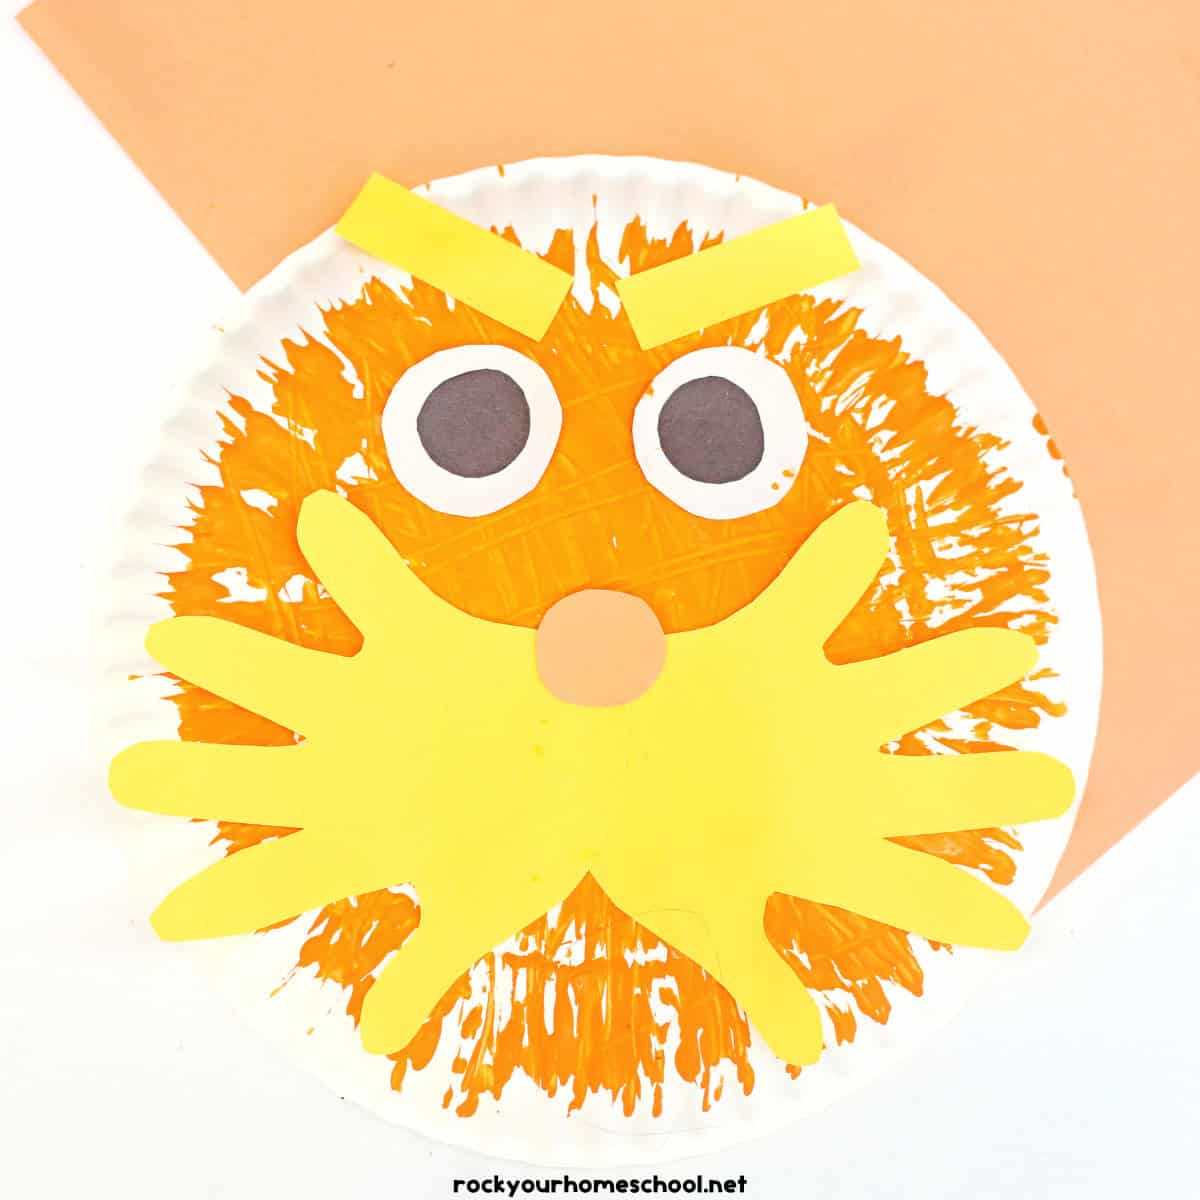
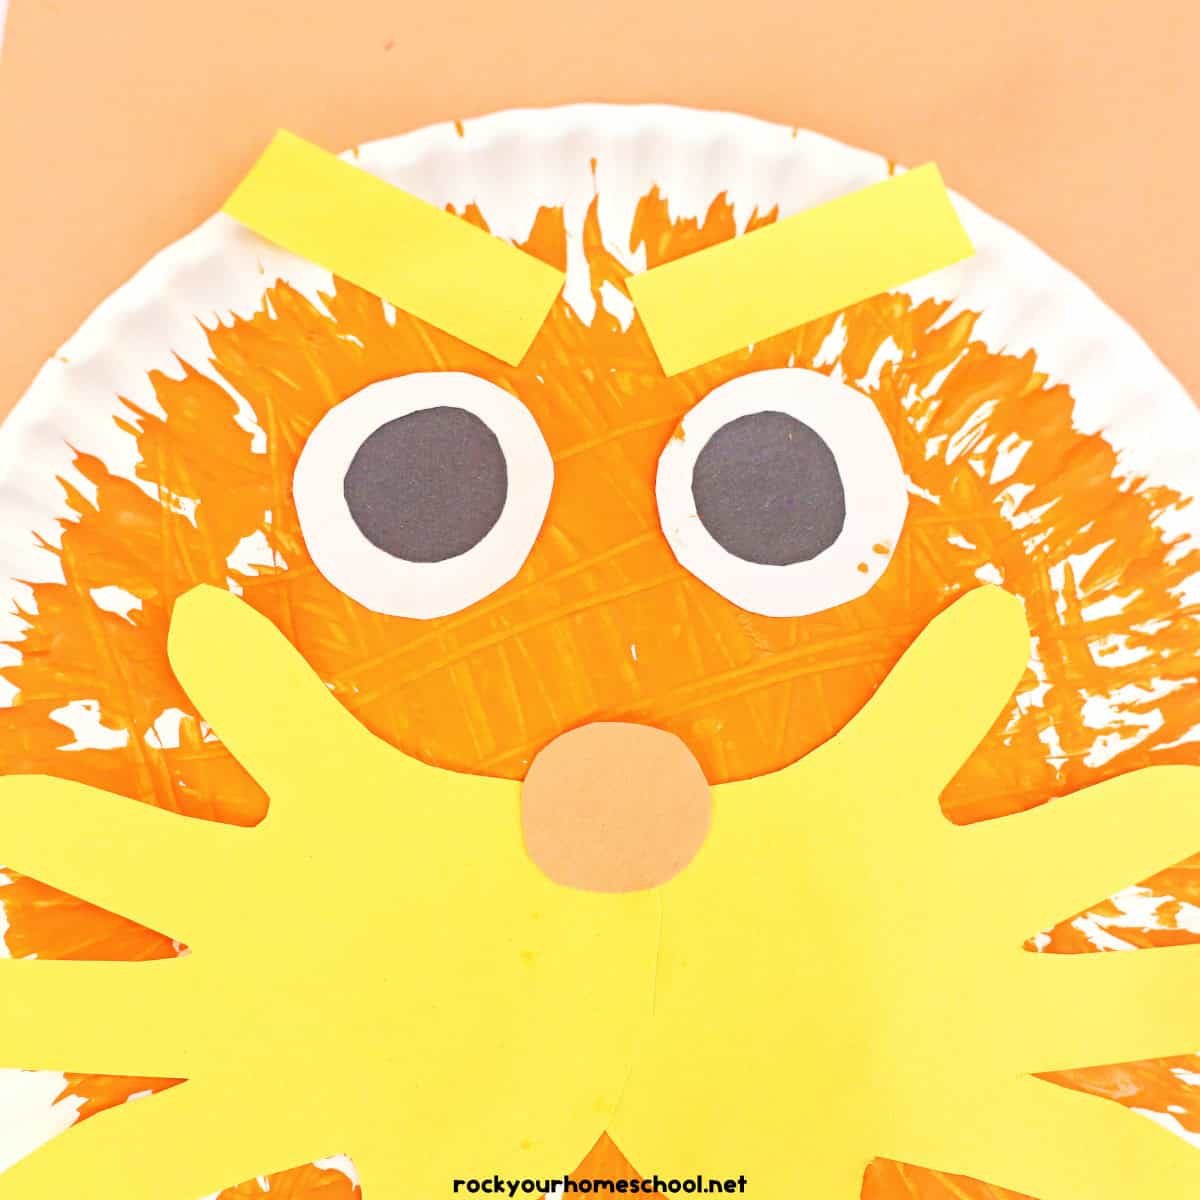
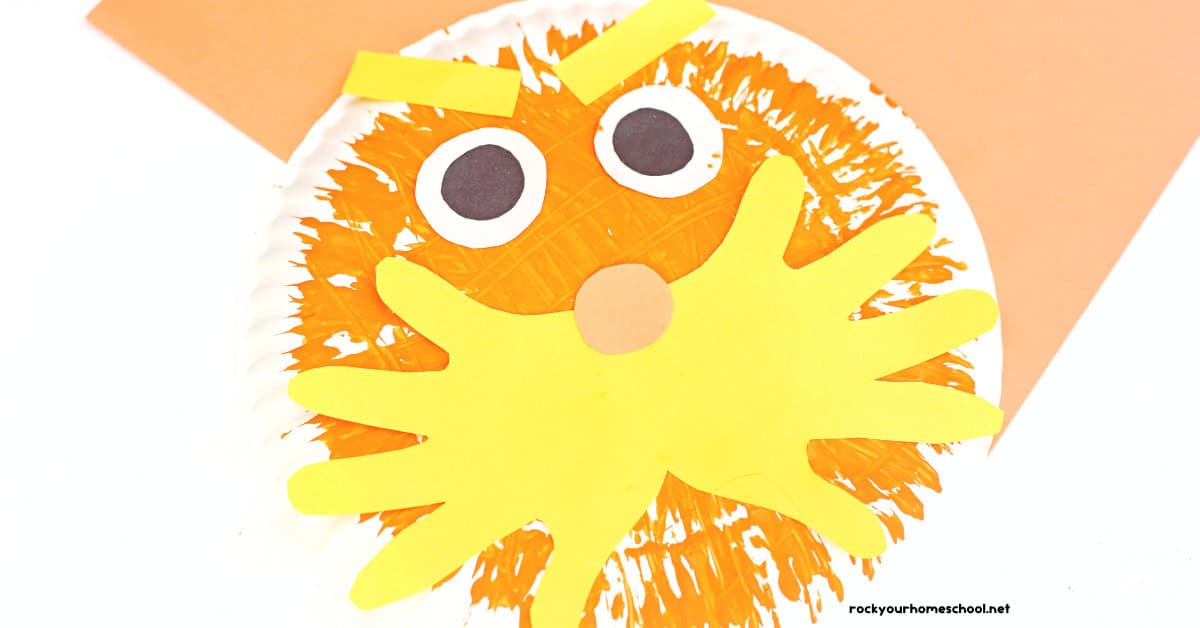
This Lorax paper plate craft combines fork painting with cut-out handprints for a super cute final product.
With only a few supplies and this simple tutorial, your kids will be able to enjoy a creative activity that can be used for all sorts of fun. My boys and I have used this project as part of our Earth Day and Dr. Seuss celebrations, as well as just because.
I'm thrilled to share my tips and ideas for making this easy Lorax craft. It's such a frugal way to boost learning and more!
Related: Enjoy more fun with The Lorax with this DIY mustache craft!
Make Your Own Lorax!
Want to take your Dr. Seuss Day or Read Across America celebration to the next level? Maybe you're getting ready to read the Dr. Seuss classic The Lorax (or watch the movie) with your students? Perhaps you've got a Lorax Party coming up soon and you'd like some frugal decorations or even a creative activity to enjoy?
I'm happy to share that this Lorax paper plate craft is an affordable and easy way to do all of that and more!
Although he can come off as a bit grumpy, I have to say that The Lorax is one of my favorite characters. I just think that he shares such an important message about taking better care of our environment through conservation.
My boys and I have enjoyed The Lorax story in various ways over the years in our homeschool. We've had a Lorax birthday party, as well as used themes from the book (and move) as part of Earth Day fun.
This Lorax paper plate craft (with fork painting and handprint!) has always been a big hit. The boys love tracing their hands and using a fork to paint. And I love the adorable projects that we use as personalized decorations in our homeschool area!
Related: Enjoy more DIY fun with our frugal Truffula tree crafts!
Recommend Materials for This Lorax Craft for Kids
You only need a few materials for this DIY craft for kids. If you'll be enjoying this Lorax-inspired craft with multiple kids, for a party, or a class, I suggest having extra supplies for all.
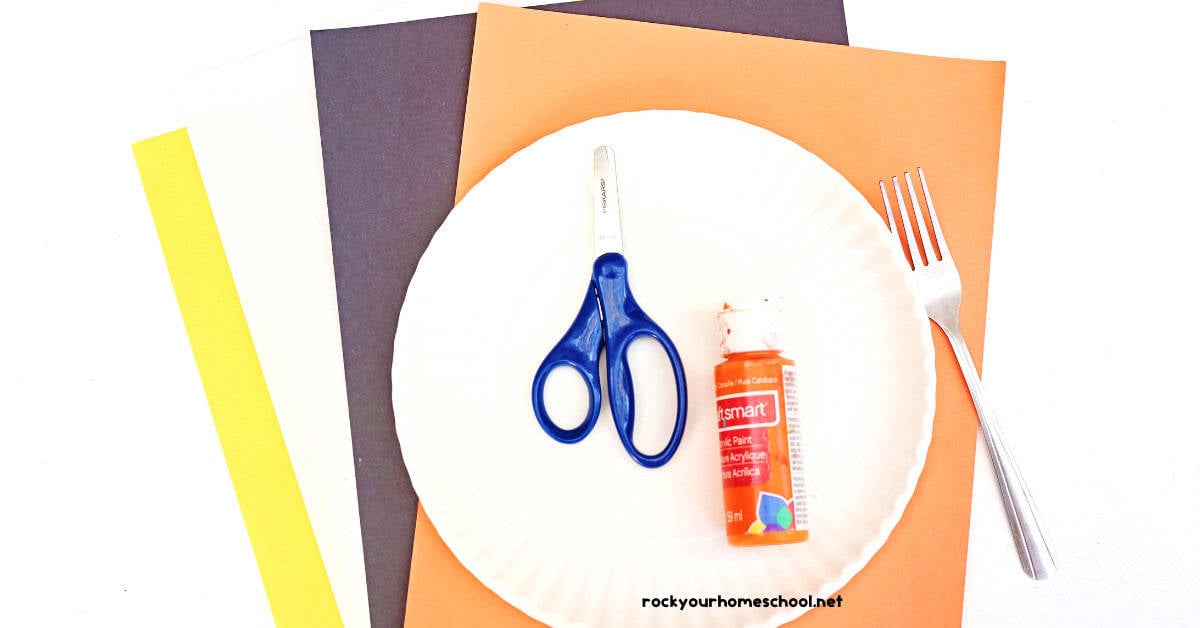
Prior to starting this craftivity, I also recommend gathering these materials:
- Paper Plate
- Orange Paint
- Fork (disposable forks are great for this project, too!)
- Orange, Black, Yellow, and White Construction Paper
- Glue (or Glue Stick)
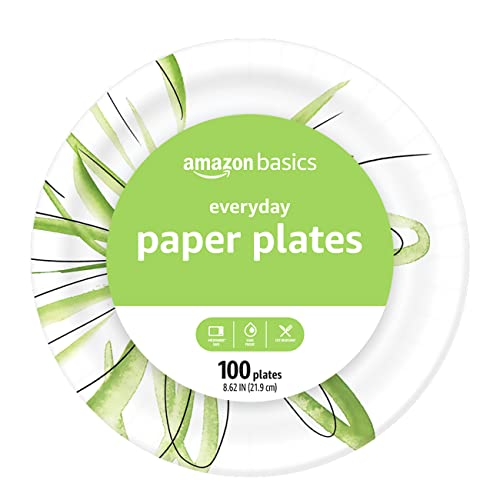
Hygloss Products Paper Plates - Uncoated White Plate - Use for Foodware, Events, Activities, Crafts Projects and More - Environmentally Friendly - Recyclable and Disposable - 6-Inches - 100 PackAmazon Basics Everyday Paper Plates, 8.62 Inch, Disposable, 100 CountCrayola Washable Paint (12ct), Bulk Paint Set for Kids, Nontoxic Paint, Kids Craft Supplies, Teacher Classroom Must Have, 16 Oz
Related: Another easy way to have fun with The Lorax is this Truffula Tree paper plate craft!
How to Make This Cute Lorax Paper Plate Craft
01
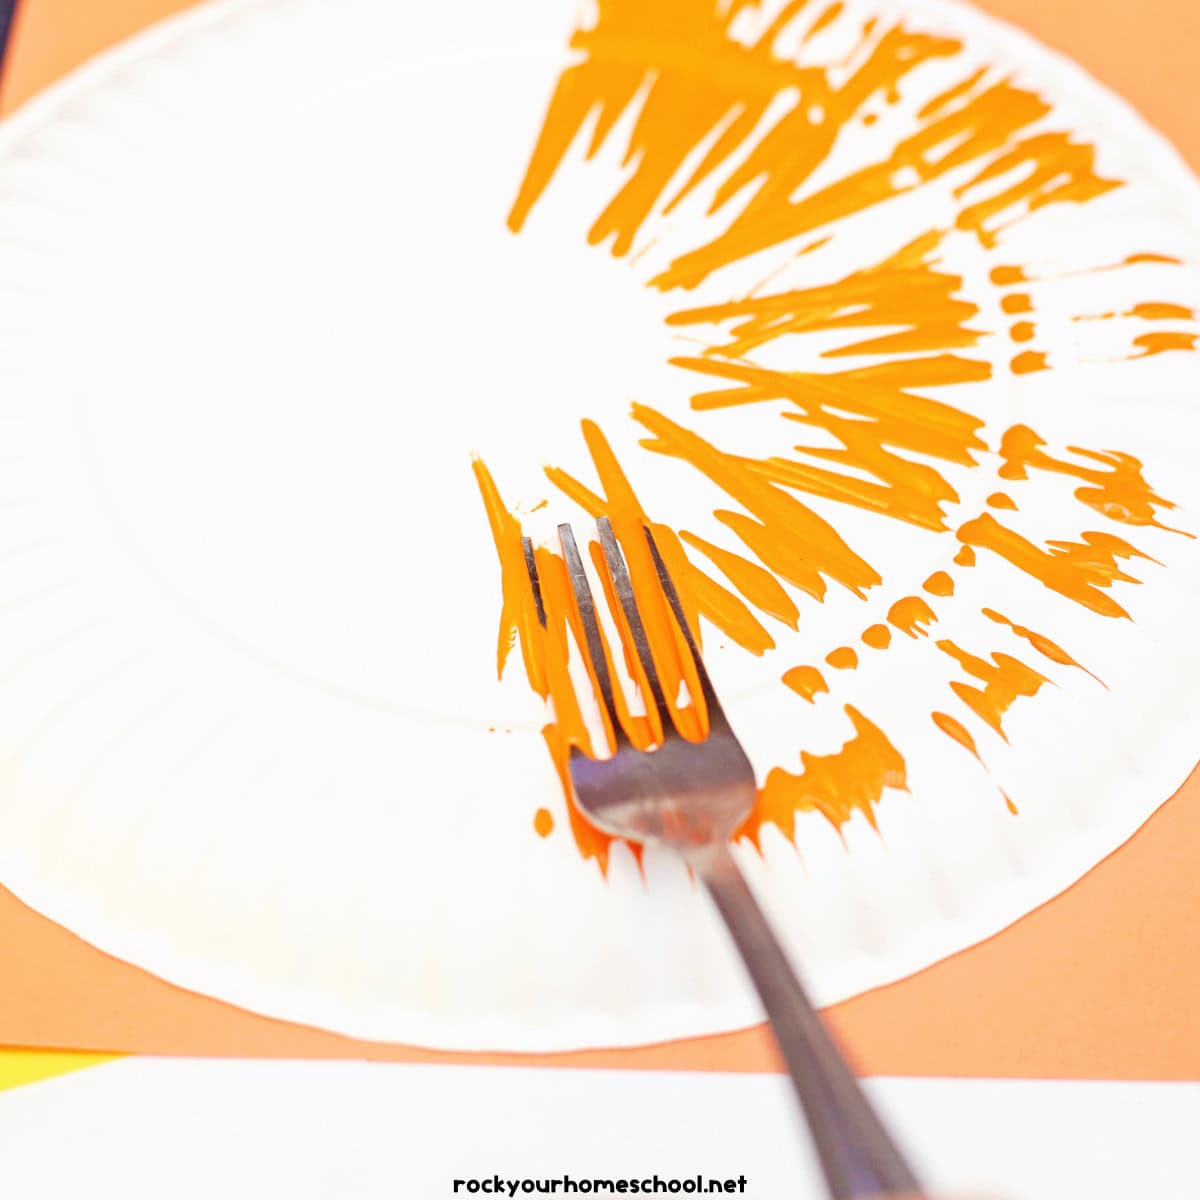
Use fork to apply paint
Dip the fork tines in the orange paint.
Paint the back of the plate by starting from the center and dragging the fork outward. Allow time to dry.
02
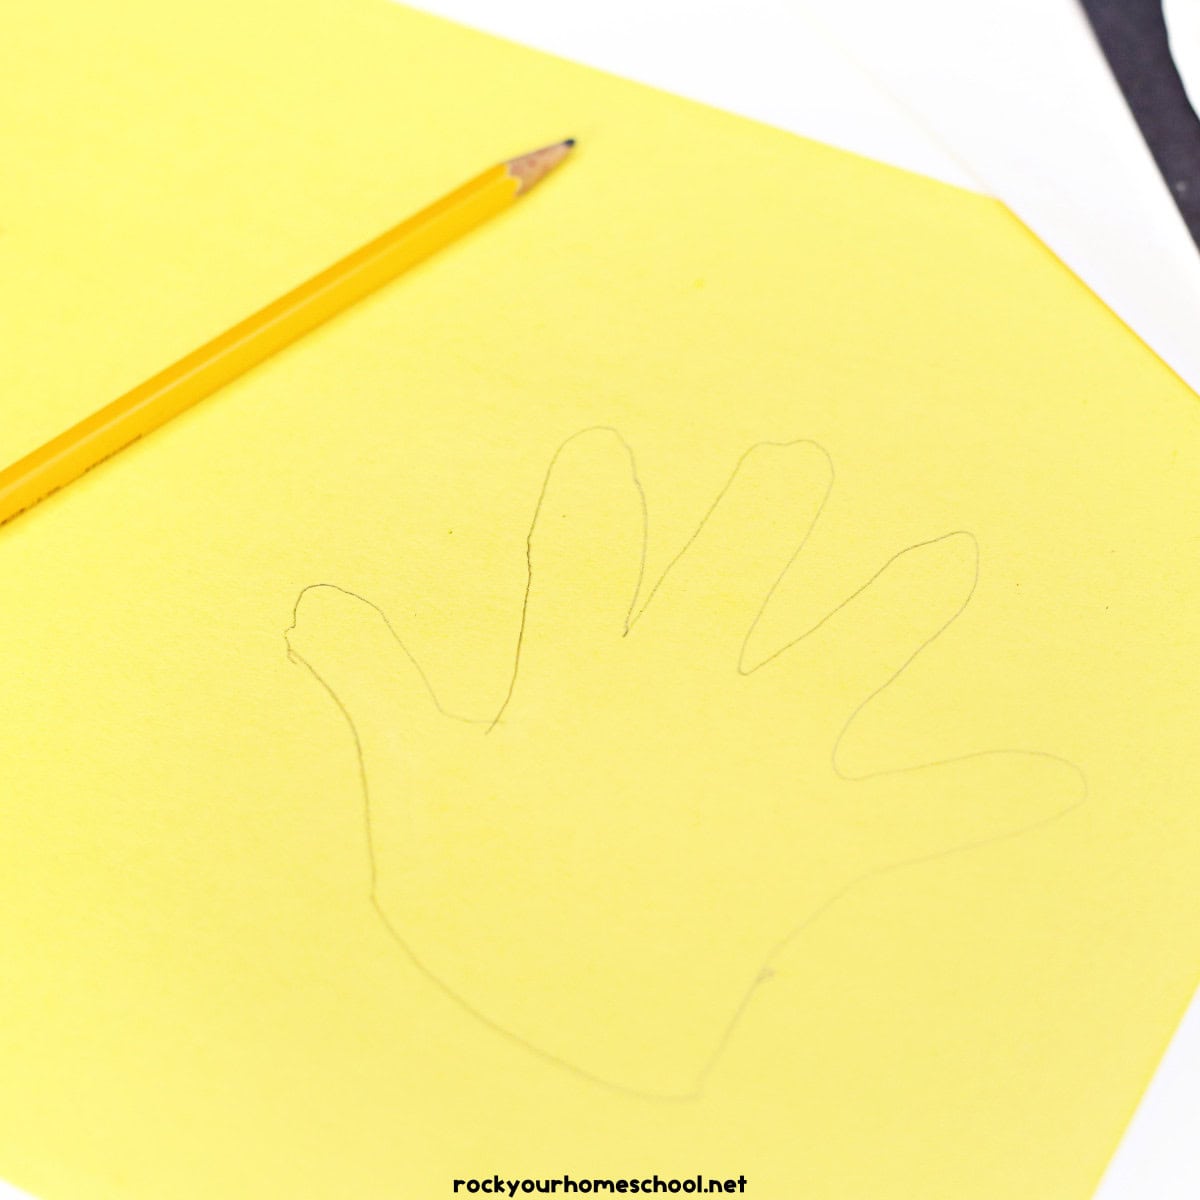
Trace hands
While the paint is drying, trace the child’s handprint on the yellow construction paper. The fingers should be slightly spread.
03
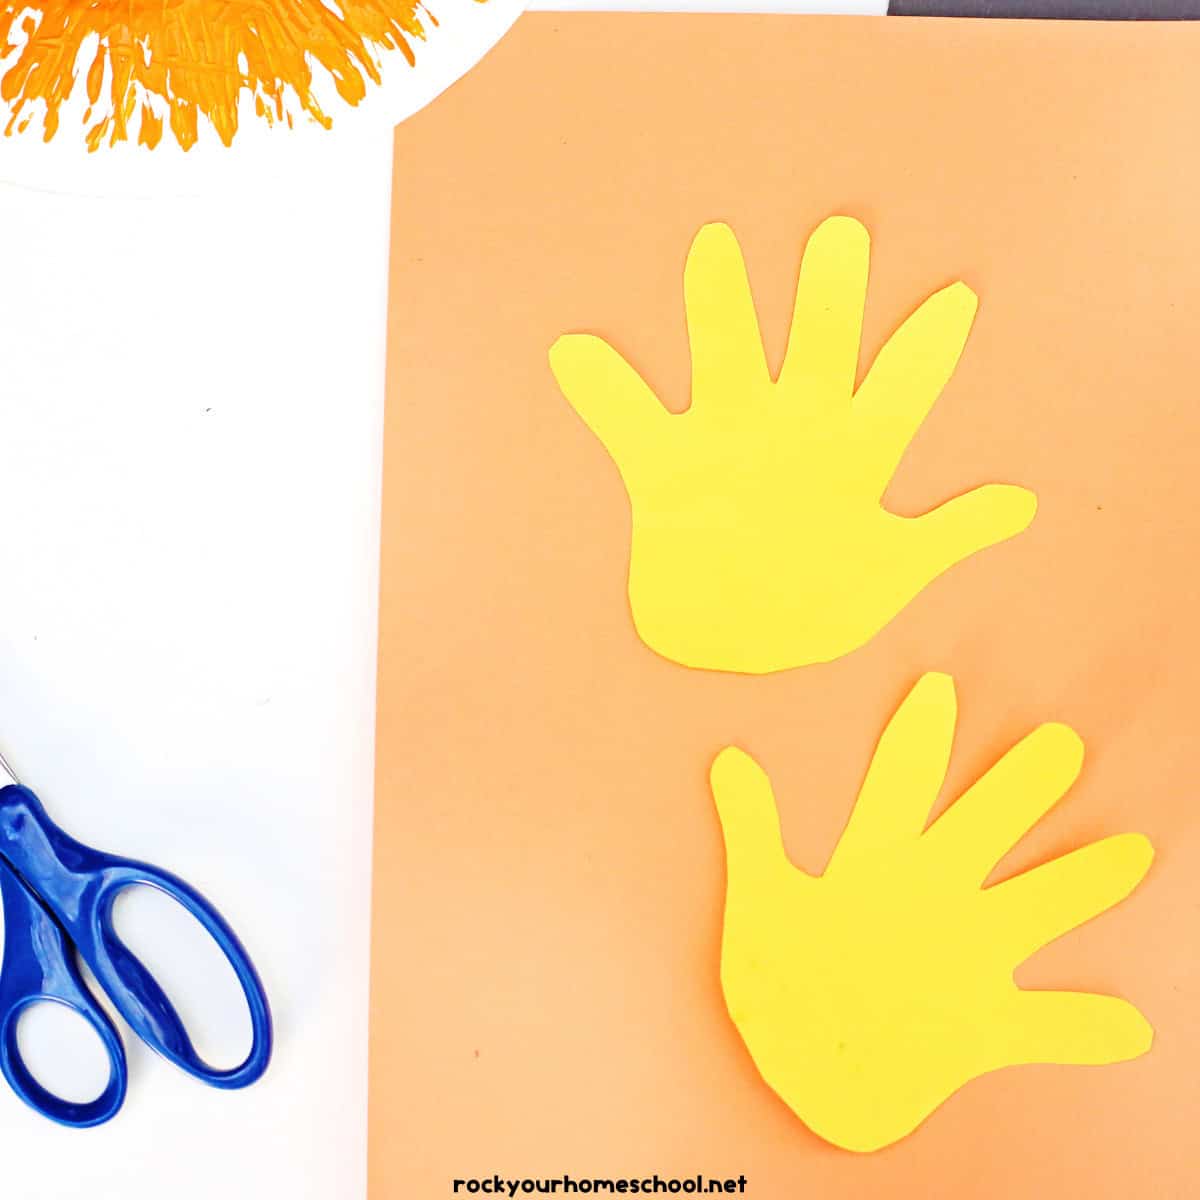
Cut out paper handprints
Fold the paper in half and cut out the handprint to produce two mirrored prints.
04
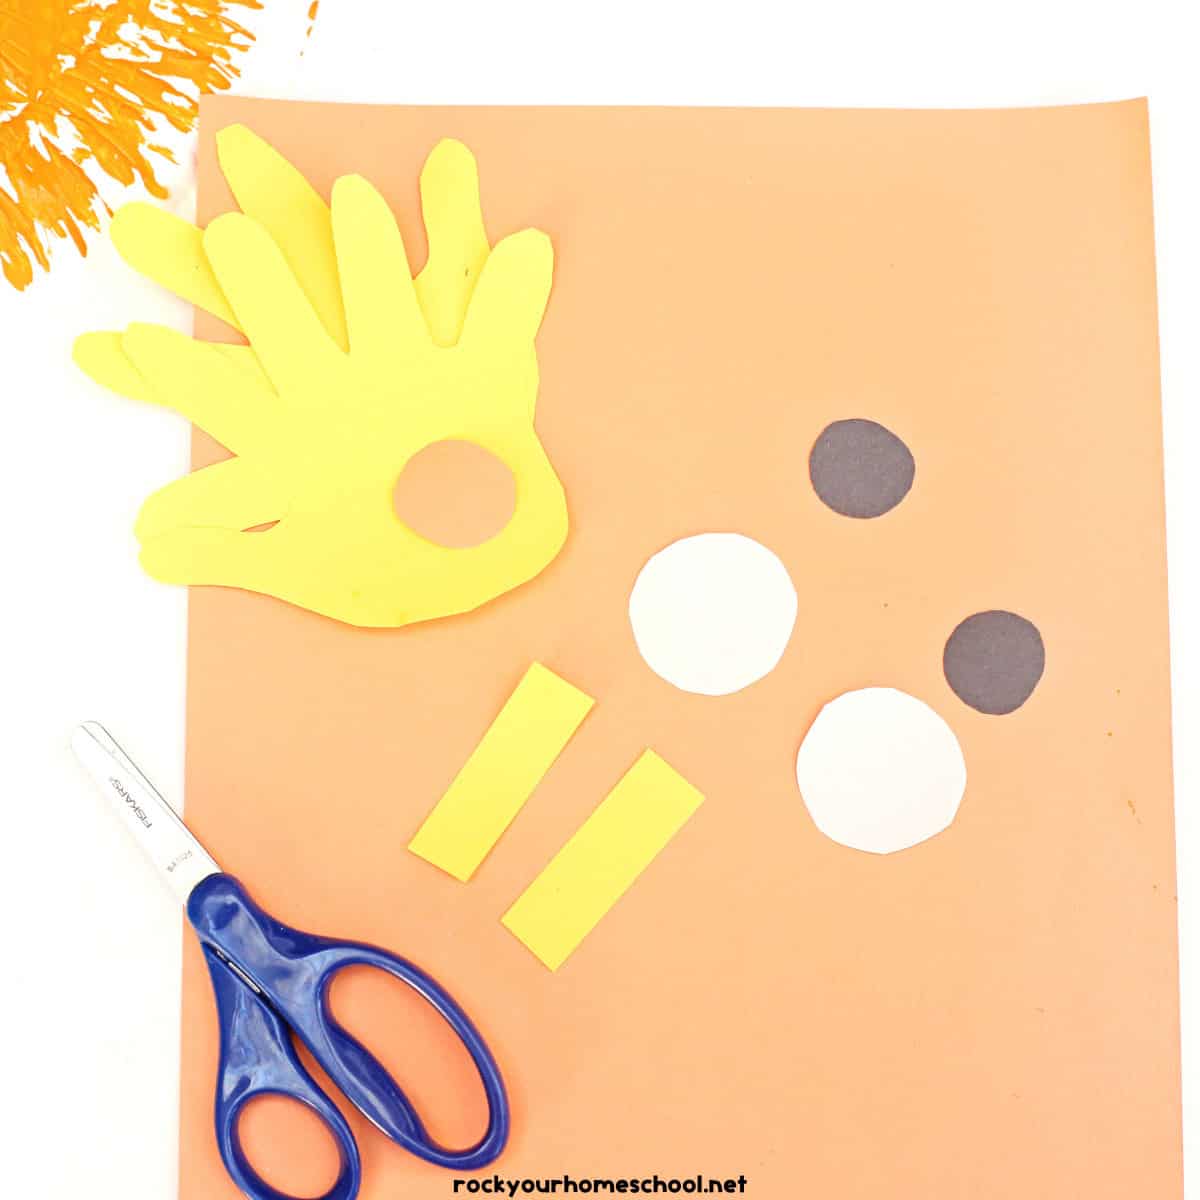
Cut out other pieces
Also, cut a circle from the orange paper for the nose, two white circles and two smaller black circles for the eyes, and two long orange rectangles for the eyebrows.
05
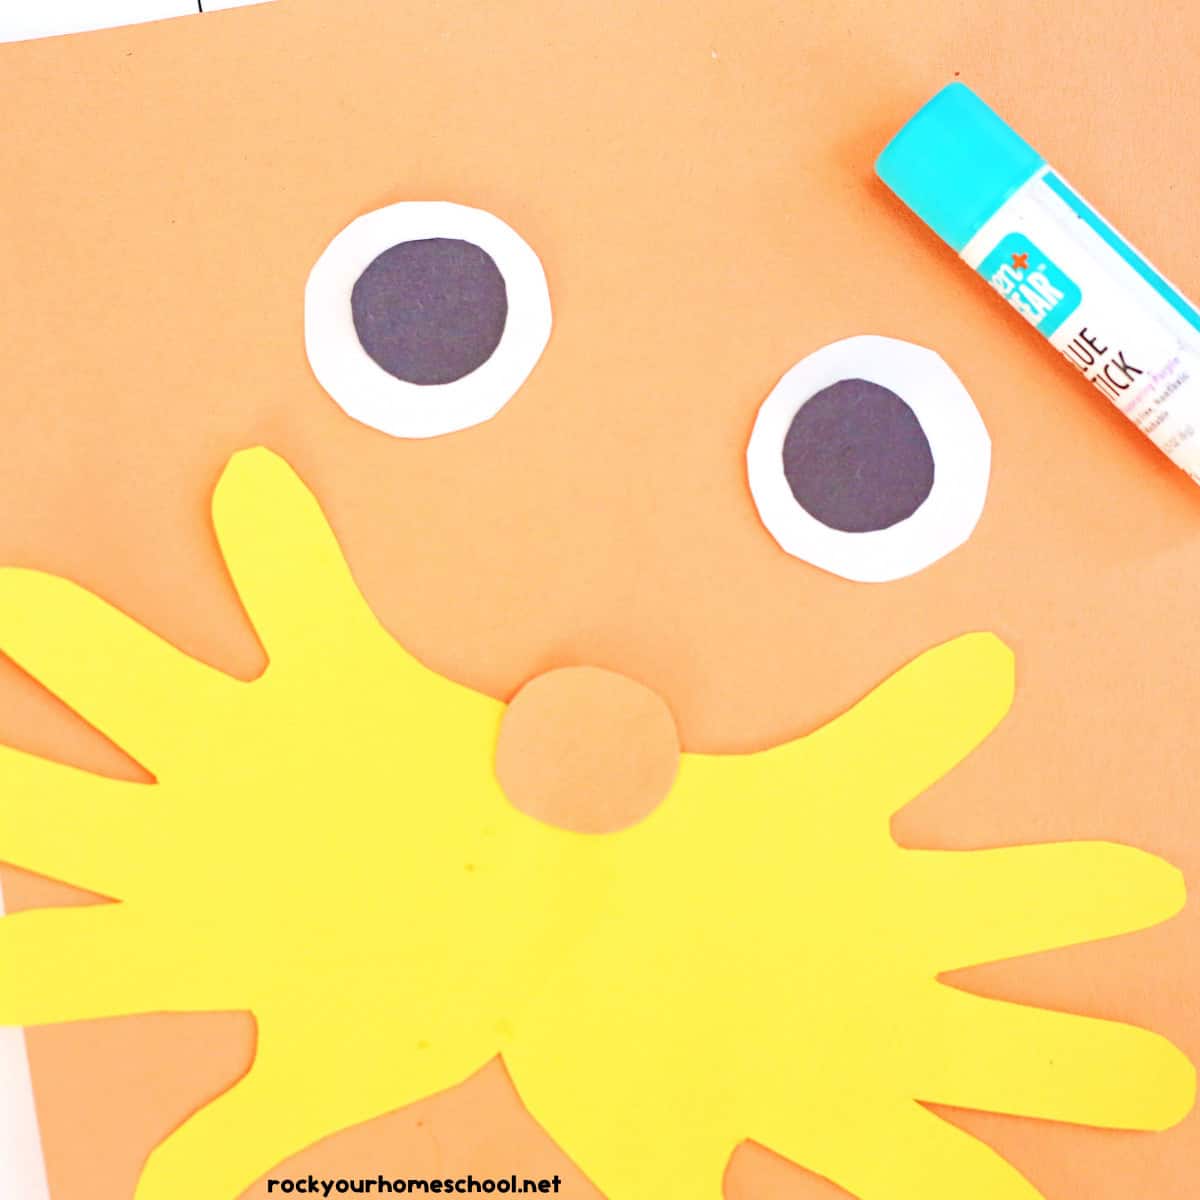
Glue pieces together
Glue the 2 black circles onto the 2 white circles. Next, glue the two handprints together so the fingers face outwards. Then, glue the nose in the middle, near the top.
06
Glue pieces to painted plate
Glue this whole assembly to the center of the plate. Then, glue the eyebrows above the eyes.
Creative Ideas for Using Your DIY Lorax Project
This paper plate craft featuring The Lorax can be used in a variety of ways. You can display your fork painting and handprint projects:
- during storytime
- on bulletin boards
- part of your homeschool space
- on your refrigerator or window
- DIY Lorax party decor
- Dr. Seuss Day celebration
- letter "Ll" lessons (Lorax)
If you're working with a larger group of students (like for a homeschool co-op or classroom experience) OR you don't have a lot of time for this project, I recommend that you cut out the pieces for the mustache, eyes, and nose prior to your event.
If you'd like to make your craft shine, consider adding glitter to the orange paint. You can also use glitter glue for cool effects!
Oh, and if you'd rather not use a fork, no worries! A few easy options for applying the orange paint include:
- regular paint brush
- foam brush
- cotton ball (or large pom pom) in a clothespin
- sponge
Easy Ways to Keep Your Lorax Fun Going
WooHoo! I just know that you and your kids will have so much fun with this Lorax craft! It's such a simple and frugal way to enjoy this popular character.
I hope these Lorax paper plate crafts are a big win with your kids! What ideas do you have for making and using these crafts? Please tell me about your experiences - share in the comments area at the bottom of this post.


