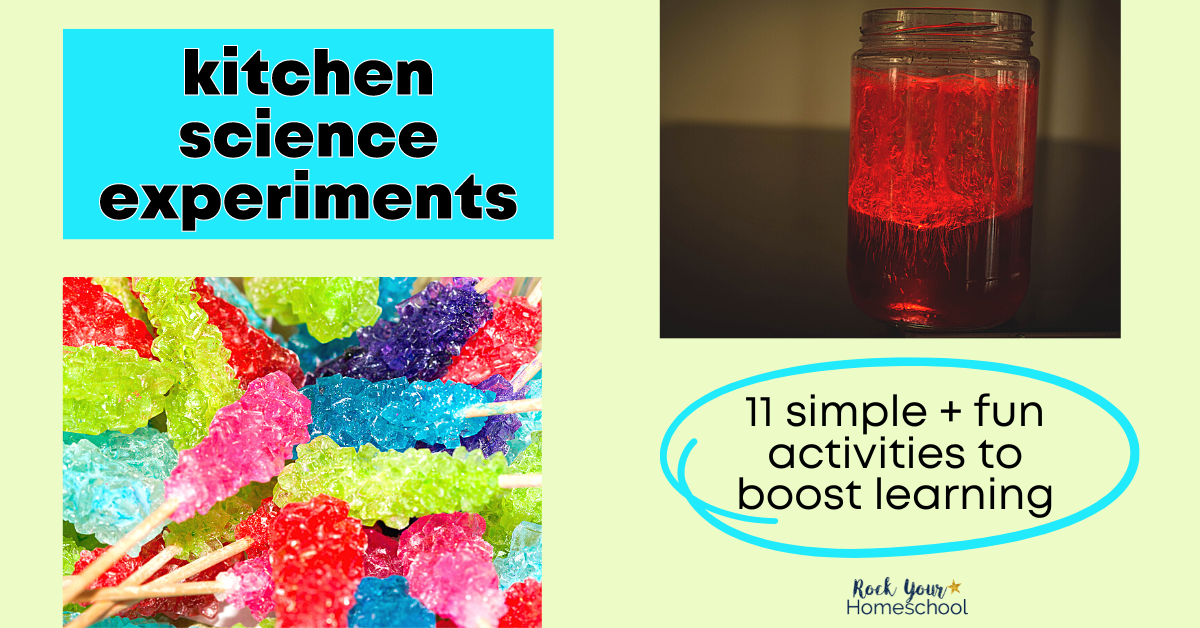
Kitchen science experiments are frugal and simple way to boost learning fun with your kids.
You’ll have a blast enjoying hands-on science activities in your very own kitchen. And the best part is that these experiments mostly involve materials that you already have!
Find out more about these 11 kitchen science experiments plus get tips and ideas on taking your learning adventures to the next level.
You CAN Easily Enjoy Science Experiments at Home!
Are you looking for simple and frugal ways to enjoy science at home? Well, kitchen science experiments can totally make that possible!
There are so many incredible ways to explore science concepts, including a few that you can experience right in your own kitchen.
As a homeschool mom of 5 boys, I’ve enjoyed SO many super cool science projects at home (especially in our kitchen). Many of these experiments are part of your everyday life which make it even easier to learn from and do.
DIY kitchen science experiments are perfect for:
- Homeschoolers on a budget (especially large homeschool families with kids of all ages)
- Summer enrichment
- Brain breaks
- Weekend family fun
- Taking free printable science activities to the next level!
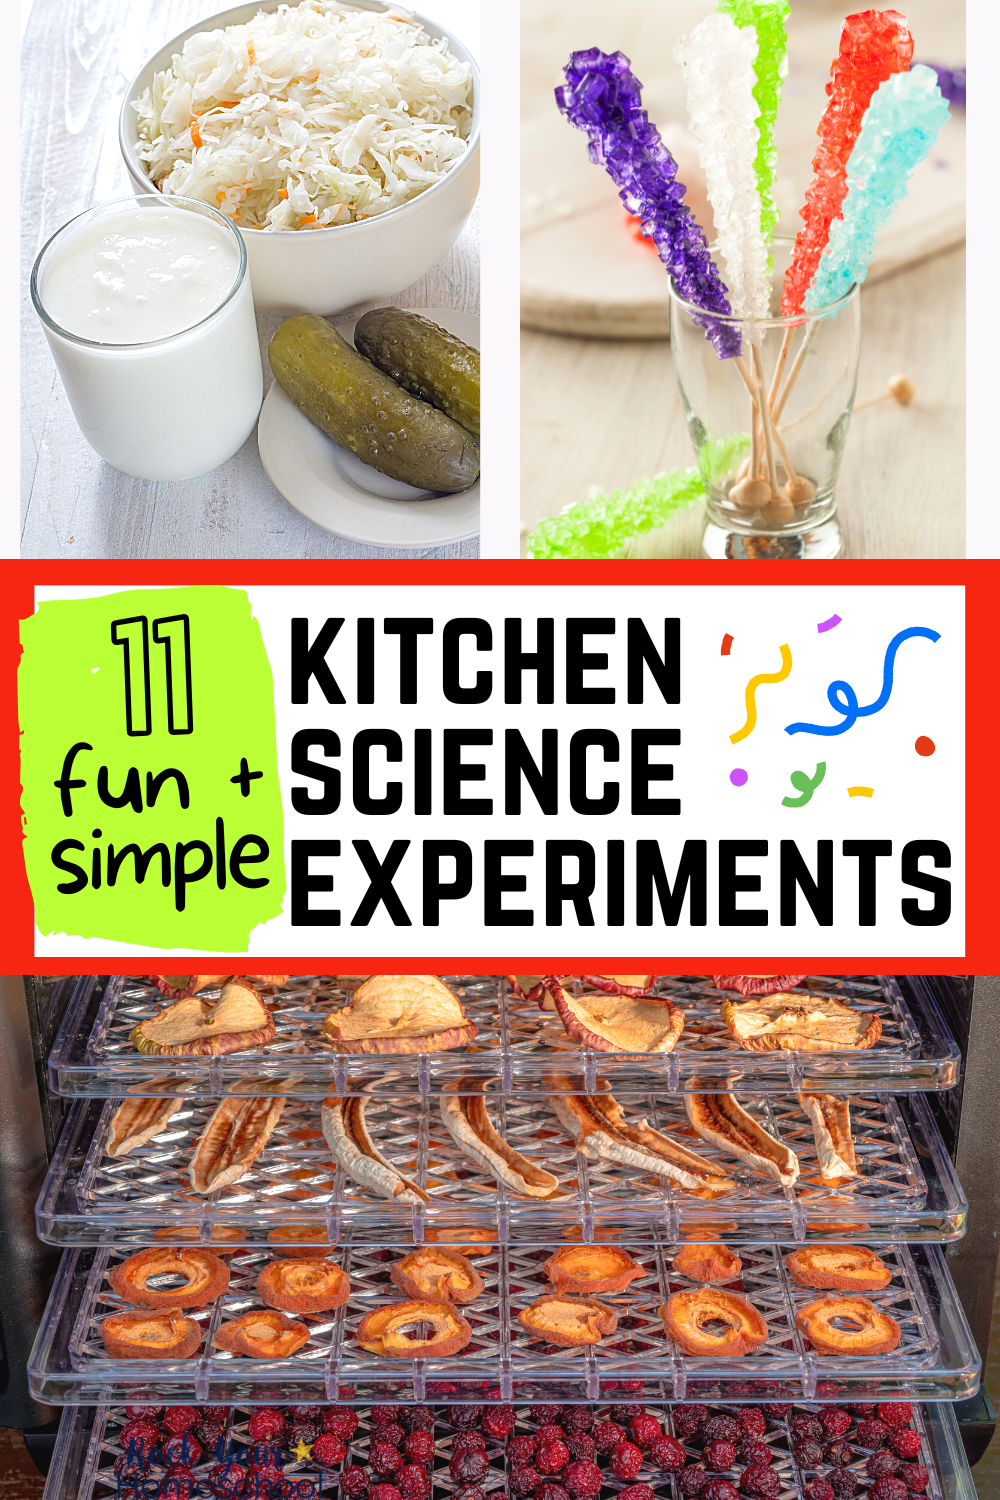
11 Kitchen Science Experiments Your Kids Will Love
Here are 11 frugal and fun ways to turn your kitchen into a science lab:
1. Try a fermentation project
There are many fermentation projects where you can try to learn more about the process of fermentation and the science behind it. You could make homemade sauerkraut, kimchi, yogurt, or kefir.
You’ll explore these concepts:
- The role of bacteria in fermentation
- How different types of bacteria produce different flavors
- The chemical changes that occur during fermentation
2. Try coloring celery stalks
Here’s a hands-on way to learn about capillary action, which is the movement of water through narrow spaces.
You’ll need:
- Celery stalks
- Water
- Food coloring
- Clear containers
INSTRUCTIONS
- Cut the celery stalks into pieces that will fit into your containers.
- Add water to the containers and then add food coloring.
- Place the celery stalks in the colored water.
- Observe what happens over the next few hours.
- Check back periodically to see how the color has moved up the celery stalks.
What’s happening? The water is moving up the celery stalks by capillary action. The food coloring makes it easy to see the movement of the water.
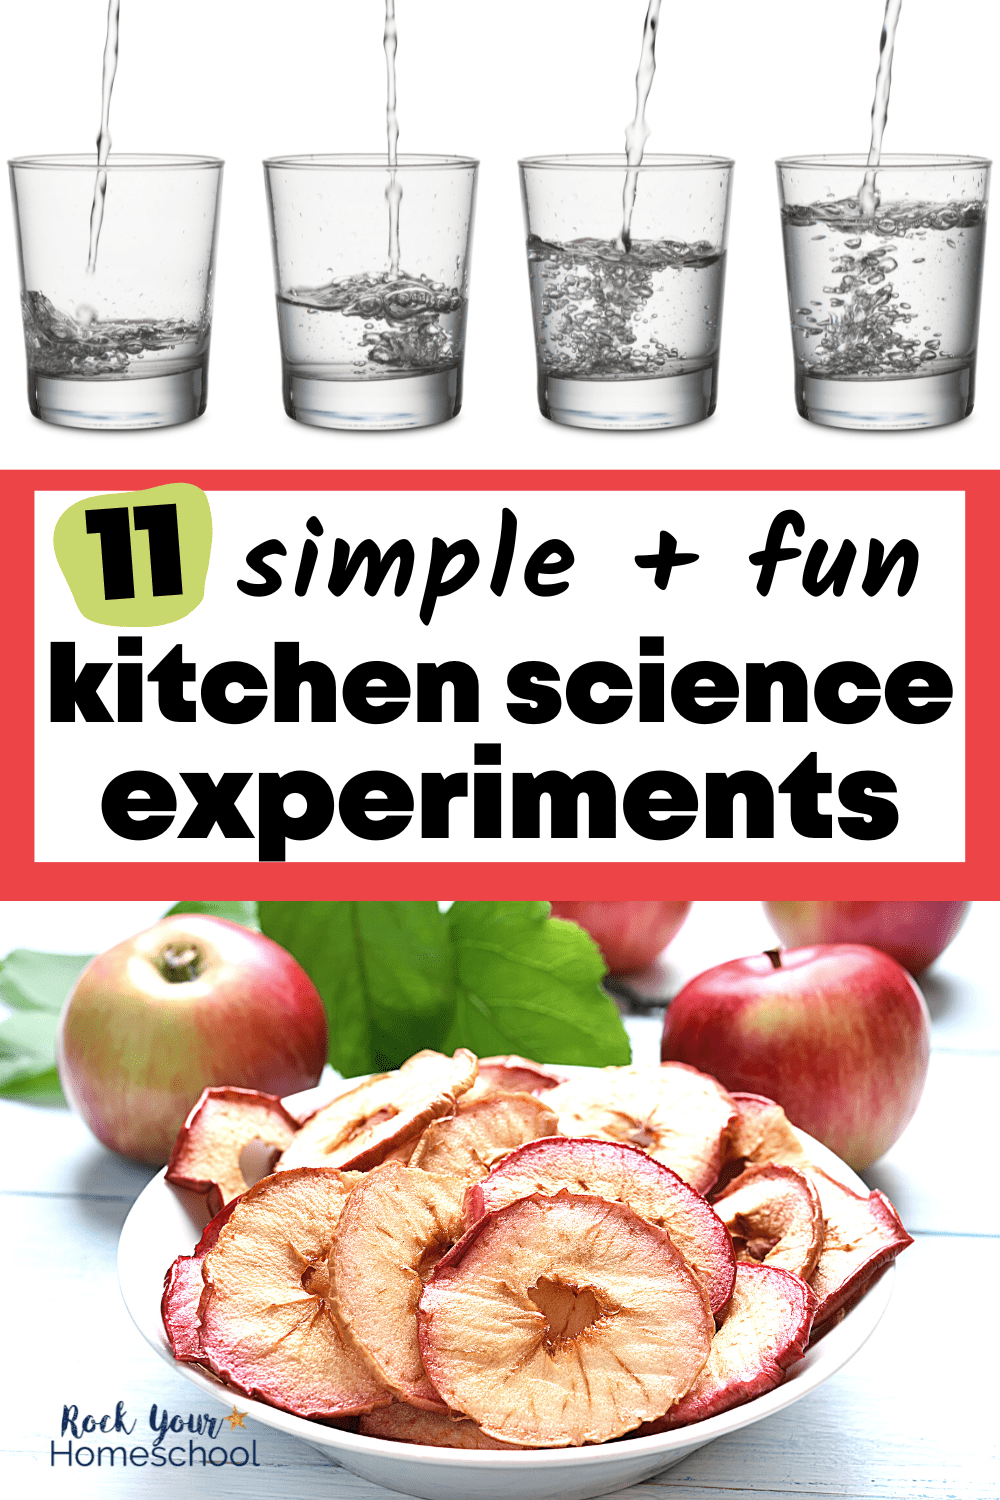
3. Dehydrate fruits and vegetables
Learn about the effects of dehydration on foods with this fun kitchen science experiment.
You’ll need:
- Fruits or vegetables
- A food dehydrator (OR you could also use an oven set to a very low temperature)
INSTRUCTIONS
- Cut the fruits or vegetables into thin slices.
- Place the slices on the dehydrator racks, and set the dehydrator to a low temperature.
- Check on the fruits or vegetables periodically, and remove them when they’re dried to your liking.
- Store the dehydrated foods in an airtight container.
What’s happening? Dehydration is a process that removes water from foods. This can make the foods last longer, since bacteria need water to grow.
4. Make your own rock candy
This sweet science experiment is a great way to learn about supersaturation and crystal formation.
You’ll need:
- A clean glass jar
- A wooden skewer or chopstick
- String
- 1 cup sugar
- 1/2 cup water
INSTRUCTIONS
- Tie one end of the string around the skewer and then lower the skewer into the jar.
- In a small saucepan, heat the sugar and water until the sugar is dissolved.
- Carefully pour the sugar syrup into the jar, being careful not to disturb the skewer.
- Allow the jar to sit undisturbed for a few days.
- You should see crystals forming on the string.
What’s happening? The sugar syrup is supersaturated which means that there’s more sugar dissolved in the water than can normally be dissolved. The excess sugar crystallizes out of the solution, and you see it on the string.
5. Regrow Vegetables from Scraps
Learn about the root structure of plants and how they grow with this frugal kitchen science experiment.
You’ll need:
- Vegetable scraps (e.g., onion ends, celery bottoms, garlic cloves)
- Water
- A clean jar
INSTRUCTIONS
- Place the vegetable scraps in the jar. Add water to cover them.
- Allow the jar to sit for a few days and then check on it to see if any roots have begun to grow.
- Once the roots are a few inches long, you can plant the vegetables in soil.
You’ll explore these concepts:
- The role of roots in plant growth
- How plants take in nutrients and water
6. See What Floats and Sinks
This is a great way to learn about density and buoyancy.
You’ll need:
- A sink or basin
- Water
- Various objects of different sizes, shapes, and densities (e.g., a piece of wood, a rock, a styrofoam cup)
INSTRUCTIONS
- Fill the sink or basin with water.
- Drop the objects into the water one at a time and observe whether they float or sink.
- Try to predict whether an object will float or sink before you drop it in.
What’s happening? The objects that float are less dense than the water, while the objects that sink are more dense. The styrofoam cup is less dense than the water because it has air pockets inside.
7. Play Musical Water Glasses for Fun Kitchen Science Experiments
Such a fun way to learn about the science of sound!
You’ll need:
- Water glasses of different sizes
- Water
- Food coloring (optional)
INSTRUCTIONS
- Fill the glasses with different amounts of water. Arrange them from largest to smallest.
- Use your finger to gently stroke the rim of each glass.
- Observe the different pitches that each glass makes.
- Try filling the glasses with different amounts of water to see how it affects the pitch.
What’s happening? The pitch of a sound is determined by the frequency of the vibrations. The larger glasses have a lower frequency and they make a lower-pitched sound.
8. Create Your Own Rainbow
Learn about the refraction of light with this simple yet fun kitchen science experiment.
You’ll need:
- A clear glass or jar
- Water
- A white piece of paper
INSTRUCTIONS
- Fill the glass with water and then hold it up to the sunlight.
- Place the white paper behind the glass and observe the rainbow that forms on the paper.
- Try moving the glass around to see how it affects the rainbow.
What’s happening? When sunlight passes through water, it is refracted (bent). This process causes different colors to be separated, and you see a rainbow.

9. Make Your Own Lava Lamp
Did you know that you can make your own lava lamp in your kitchen? It’s a wonderful way to learn about the density of liquids.
You’ll need:
- A clean jar
- Water
- Vegetable oil
- Food coloring
INSTRUCTIONS
- Fill the jar with water and then add enough vegetable oil to fill it to the top.
- Add a few drops of food coloring. Observe what happens.
- Try adding different colors of food coloring to see how they interact.
What’s happening? The food coloring is more dense than the water, but less dense than the oil. This causes it to sink to the bottom of the jar, but rise to the top when it reaches the layer of oil.
10. Add Make Your Own Butter to Your Kitchen Science Experiments List
You can learn about the chemical properties of milk by making your own butter.
You’ll need:
- 1 cup of heavy cream
- A clean jar
- A lid
INSTRUCTIONS
- Pour the heavy cream into the jar and then screw on the lid.
- Shake the jar for 10 minutes or until the cream turns into butter.
- Pour off the buttermilk and then enjoy your homemade butter!
What’s happening? When milk is churned, the cream separates from the milk and forms butter. This cream is richer in fat then the milk and the fat globules are attracted to each other.
11. Create Your Own Eruption
Learn about chemical reactions with this exciting kitchen science experiment.
You’ll need:
- 1/2 cup of vinegar
- 1/2 cup of baking soda
- A small container
INSTRUCTIONS
- Pour the vinegar and baking soda into the container.
- Observe the eruption that occurs.
- Try adding different amounts of vinegar and baking soda to see how it affects the eruption.
What’s happening? When vinegar and baking soda are mixed together, they create a chemical reaction that produces carbon dioxide gas. This gas is what causes the eruption.

Boost Learning Fun with Kitchen Science Experiments
Science is all around us. By trying some of these fun kitchen science experiments, you can learn a lot about how the world works. These activities are a great way to engage your kids in learning about science – and they’re also a lot of fun!
What kitchen science experiments would you add to this list? Please share your ideas in the comments area at the bottom of this post 😊
Wishing you tons of frugal kitchen science fun with your kids!